Synthead

joined 1 year ago
[โ€“] Synthead@lemmy.world 0 points 10 months ago

That's mean ๐Ÿ˜

[โ€“] Synthead@lemmy.world 25 points 10 months ago

Aw what a beautiful snake

[โ€“] Synthead@lemmy.world 3 points 10 months ago

Actually this is rather RS232 over spaghetti.

Then why... nevermind

[โ€“] Synthead@lemmy.world 20 points 11 months ago (1 children)

Newer LED lights often flicker.

Saved you a click.

[โ€“] Synthead@lemmy.world 3 points 11 months ago

Squarepusher cones to mind

[โ€“] Synthead@lemmy.world 1 points 11 months ago* (last edited 11 months ago)
[โ€“] Synthead@lemmy.world 2 points 11 months ago

Wow, that's incredible! What a talented player!


I am about finished with an 8 ft x 13 ft patio, and the plan is to bond the pavers with polymeric sand. It's just starting to get down to freezing temps overnight, and I'm willing to take some chances with some creative solutions to cure the sand before it gets even cooler.

I understand that it's generally a bad idea to attempt poly sand in cold weather. But entertain my dumb idea: my patio is small enough to where I can cover it with a tarp like a tent, and I can leave a space heater in there overnight so that the sand is exposed to warm air. I am personally convinced that it's stupid enough to just work. Is this a terrible idea?

I also had the thought of bringing hot water out in a watering can from my bathtub. I needed to tamp the gravel that froze at one point, so I already did this, and was able to cover the whole area in about 5 trips or so. My only concern is that this is not a conventional way to set the sand, and am concerned that the hot water would flush the polymers right out of the sand without having an opportunity to cure.

What are your thoughts? I'm willing to take silly risks on this :) Worst case scenario, I get expensive regular sand, right? That's not so bad ;)

Edit: Decided to wing it and give it a shot. I thought I would attempt to heat the paver bricks overnight, and if that plan fell apart, go ahead with typical utility sand. Well, I successfully built a tent with a steel tamper, a hand truck, and tarps, and snuck a little battery-powered temperature and humidity sensor in there that I use with my home automation.

All throughout the night, the temperature hovered around 70F during a high 20s evening with less than 40% humidity! It worked so incredibly well that I decided that there was no reason why I shouldn't take advantage of this. With the bricks bone dry and warmed up, I did the poly sand today and it turned out absolutely excellent. I put the little tent back on it, and plan to leave it on there with a ceramic space heater running for about 3 more days. It's quite literally a summer day in there minus the sun! It's covered like a tent, too, so it will be protected from the rain while it hardens!

Here's some graphs of how well this is working out from the sensor! This is the humidity! The jump and drop was when I took the tarps off, did the poly sand, and put it back together. The humidity with the situation going is the same as indoors!

And here's the temperature! Staying toasty at about 73F! The little dip on the end is from when I opened it up to crawl in and check on it :)

This is honestly better than waiting for the spring! I'm so happy how this is working out!


Come join our community of very real tech pictures!

We have hacker lasers!

Security experts!

Computer repair!

Pro soldering techniques!

And whatever the hell this is!

Come check us out at !veryrealtechpics@lemmy.world!


If I go to "about community" in a community, and I tap back (to close the "about community," from a UX perspective), it leaves the community and goes back to the previous view. This is the same behavior as if I tapped back while viewing the community.

In my opinion, it would be better to make back close the "about community" view and return to the community.


When viewing the front page, if I "pull down" the screen to refresh, the contents are different than the "refresh" menu option in the "top-right" menu.


Currently, looking-tap behavior hides the comment. This should enable text selection instead.

Additionally, the comment hiding should be a visible option of its own.


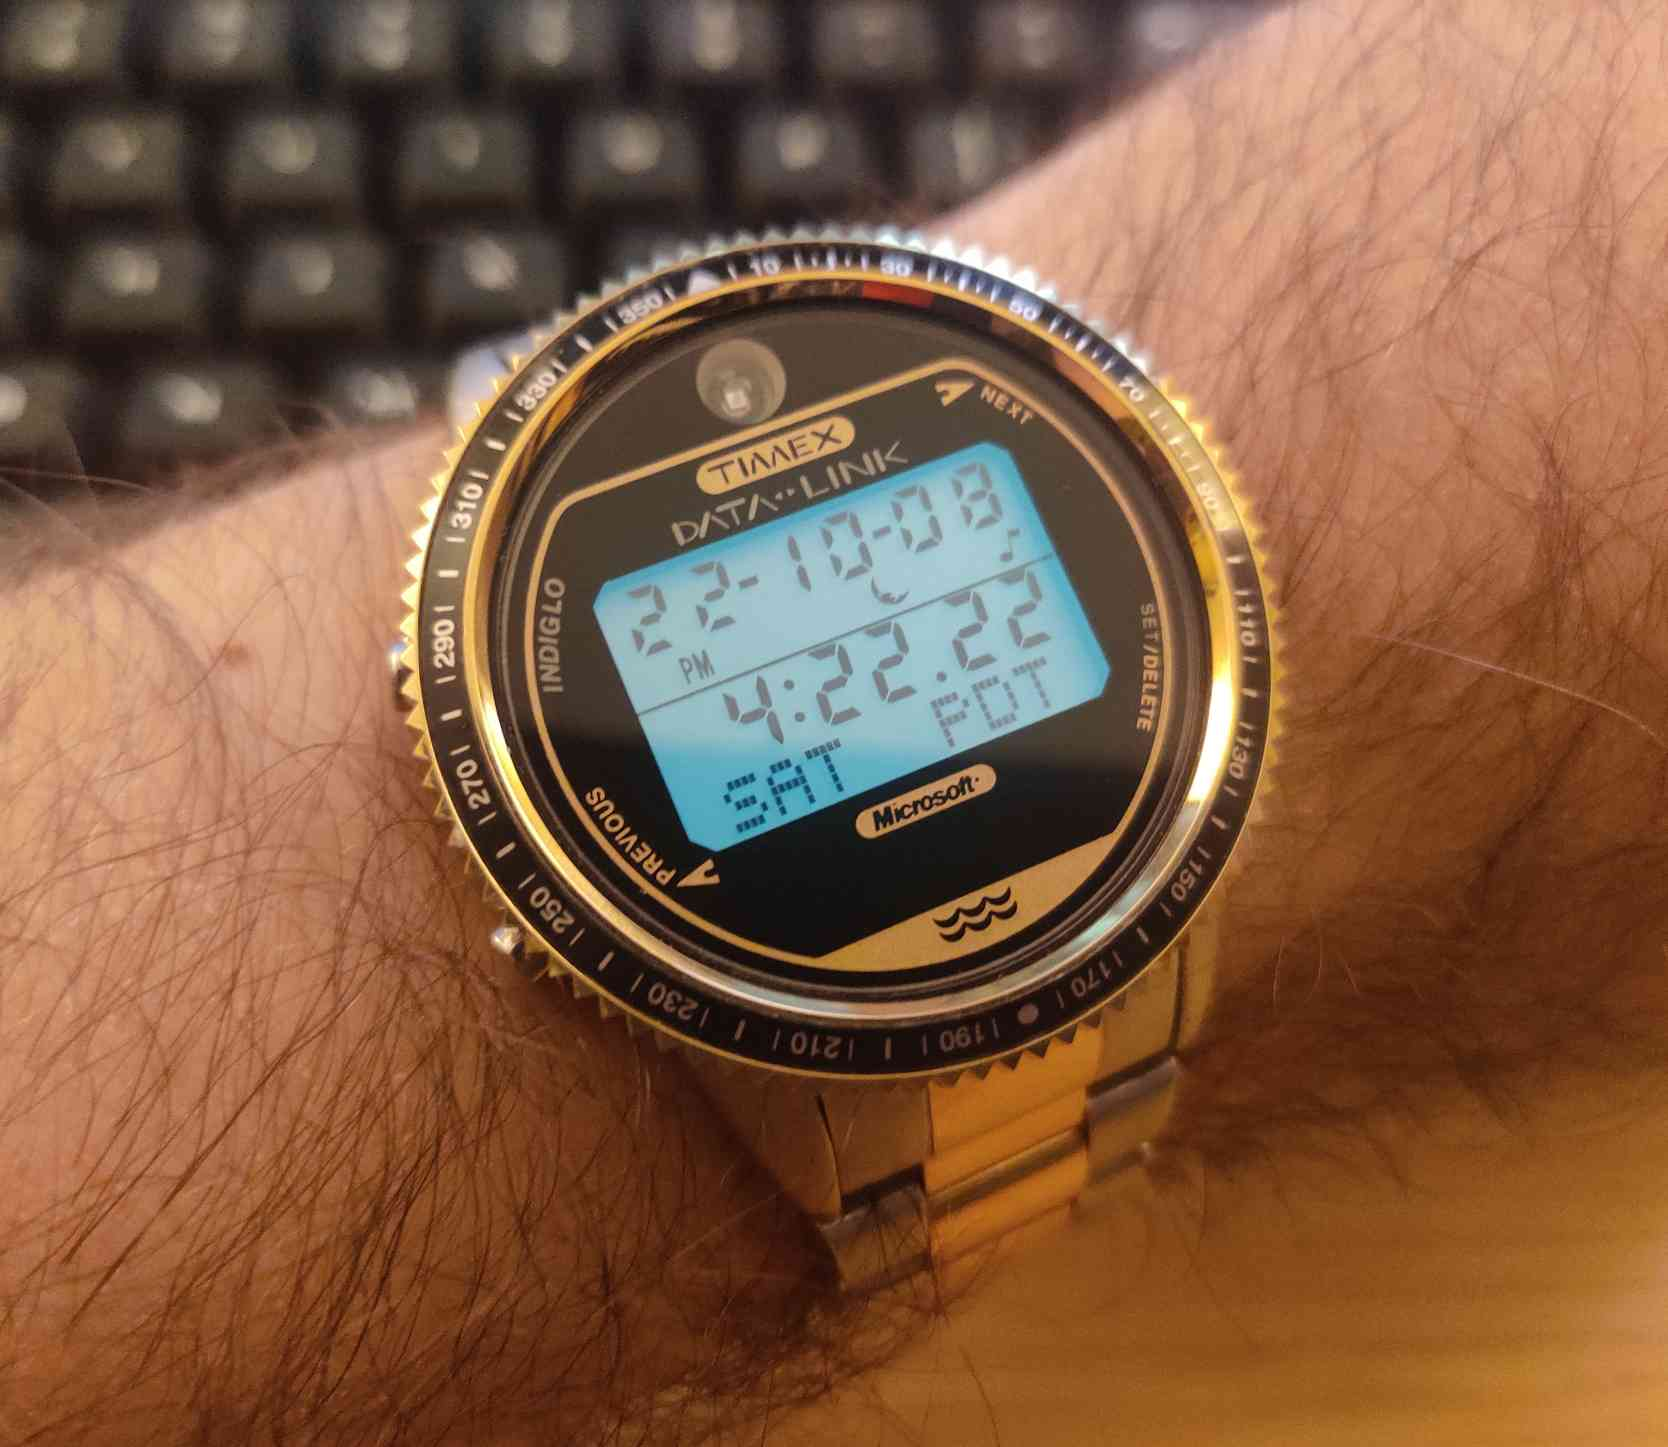
Here's a little Discord server for folks interested in the fancy Timex Datalink smart watches from 1994!

https://discord.gg/nqKcKz2ZbE

Anyone is welcome to join, even if you're simply curious what the Datalink is all about! This server is a social place to share little WristApp programs and sound schemes, help archive antique software, get help with development, and just simply enjoy your watch with like-minded people.

To see what these things are all about, check out this LGR video!

https://www.youtube.com/watch?v=GCHHzw4s5W4

This article on Wikipedia does a great job summing it up, too:

https://en.wikipedia.org/wiki/Timex_Datalink

And I made a post about some software I wrote for it in this post!

Heya! I thought I'd mention that I've been doing a bunch of development on the optical Timex Datalink watches! I have been carefully sniffing data from the original Timex software with a logic analyzer, and have fully reverse engineered every Datalink protocol, the serial Notebook Adapter, and even the CRT syncing graphics! This means that every Datalink device, including every Timex and Motorola watch, all PDAs, and the funny e-BRAIN talking toy is supported!

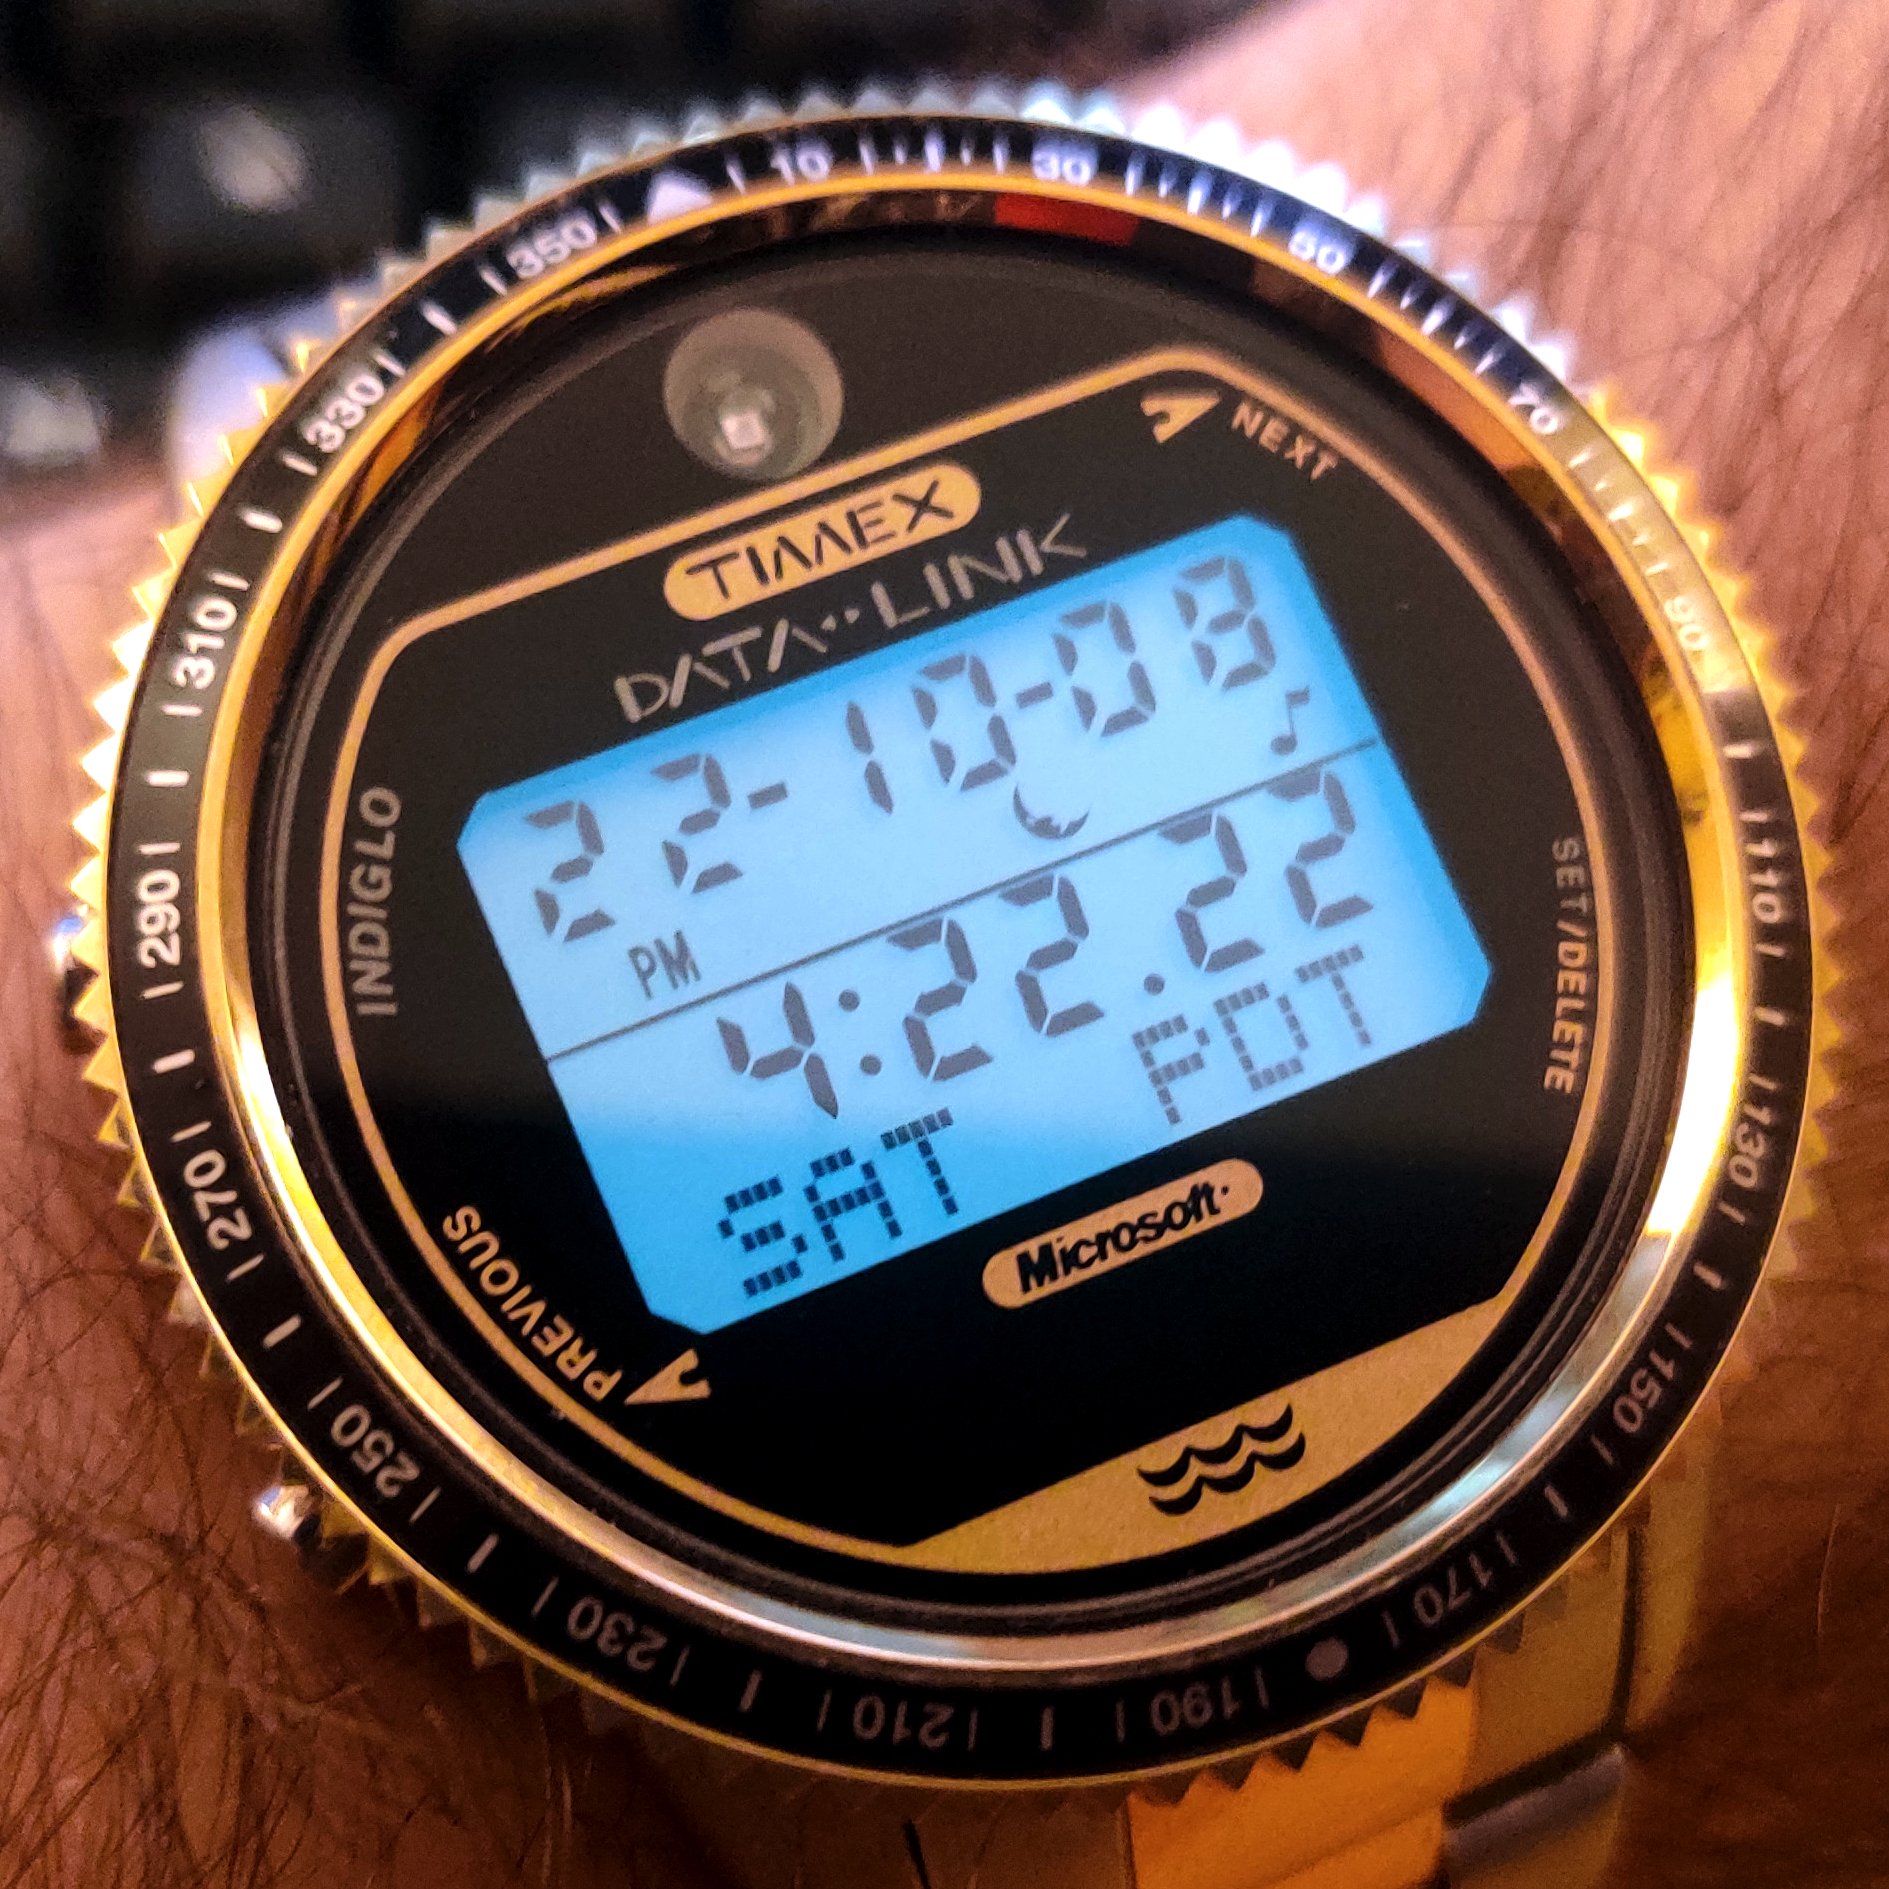
For those that aren't familiar, the Timex Datalink is a watch that was introduced in 1994 that is essentially a small PDA on your wrist. The early models (supported by this software) have an optical sensor on the top of the face that receives data via visible light.

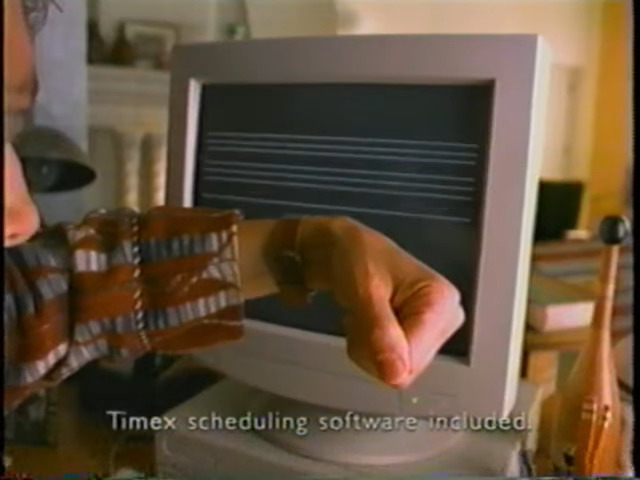
The original data transfer method involves drawing patterns of lines on a CRT monitor for the watch to receive with the optical sensor. CRTs use electron beams that draw scan lines one-by-one from top to bottom, then it returns to the top and repeats for the next frame. This means that the electron guns turn on when its drawing a white line, and and turn off when its drawing the black background. This produces flashing light as the graphics are drawn, which is ultimately received by the optical sensor and decoded by the Timex Datalink device.

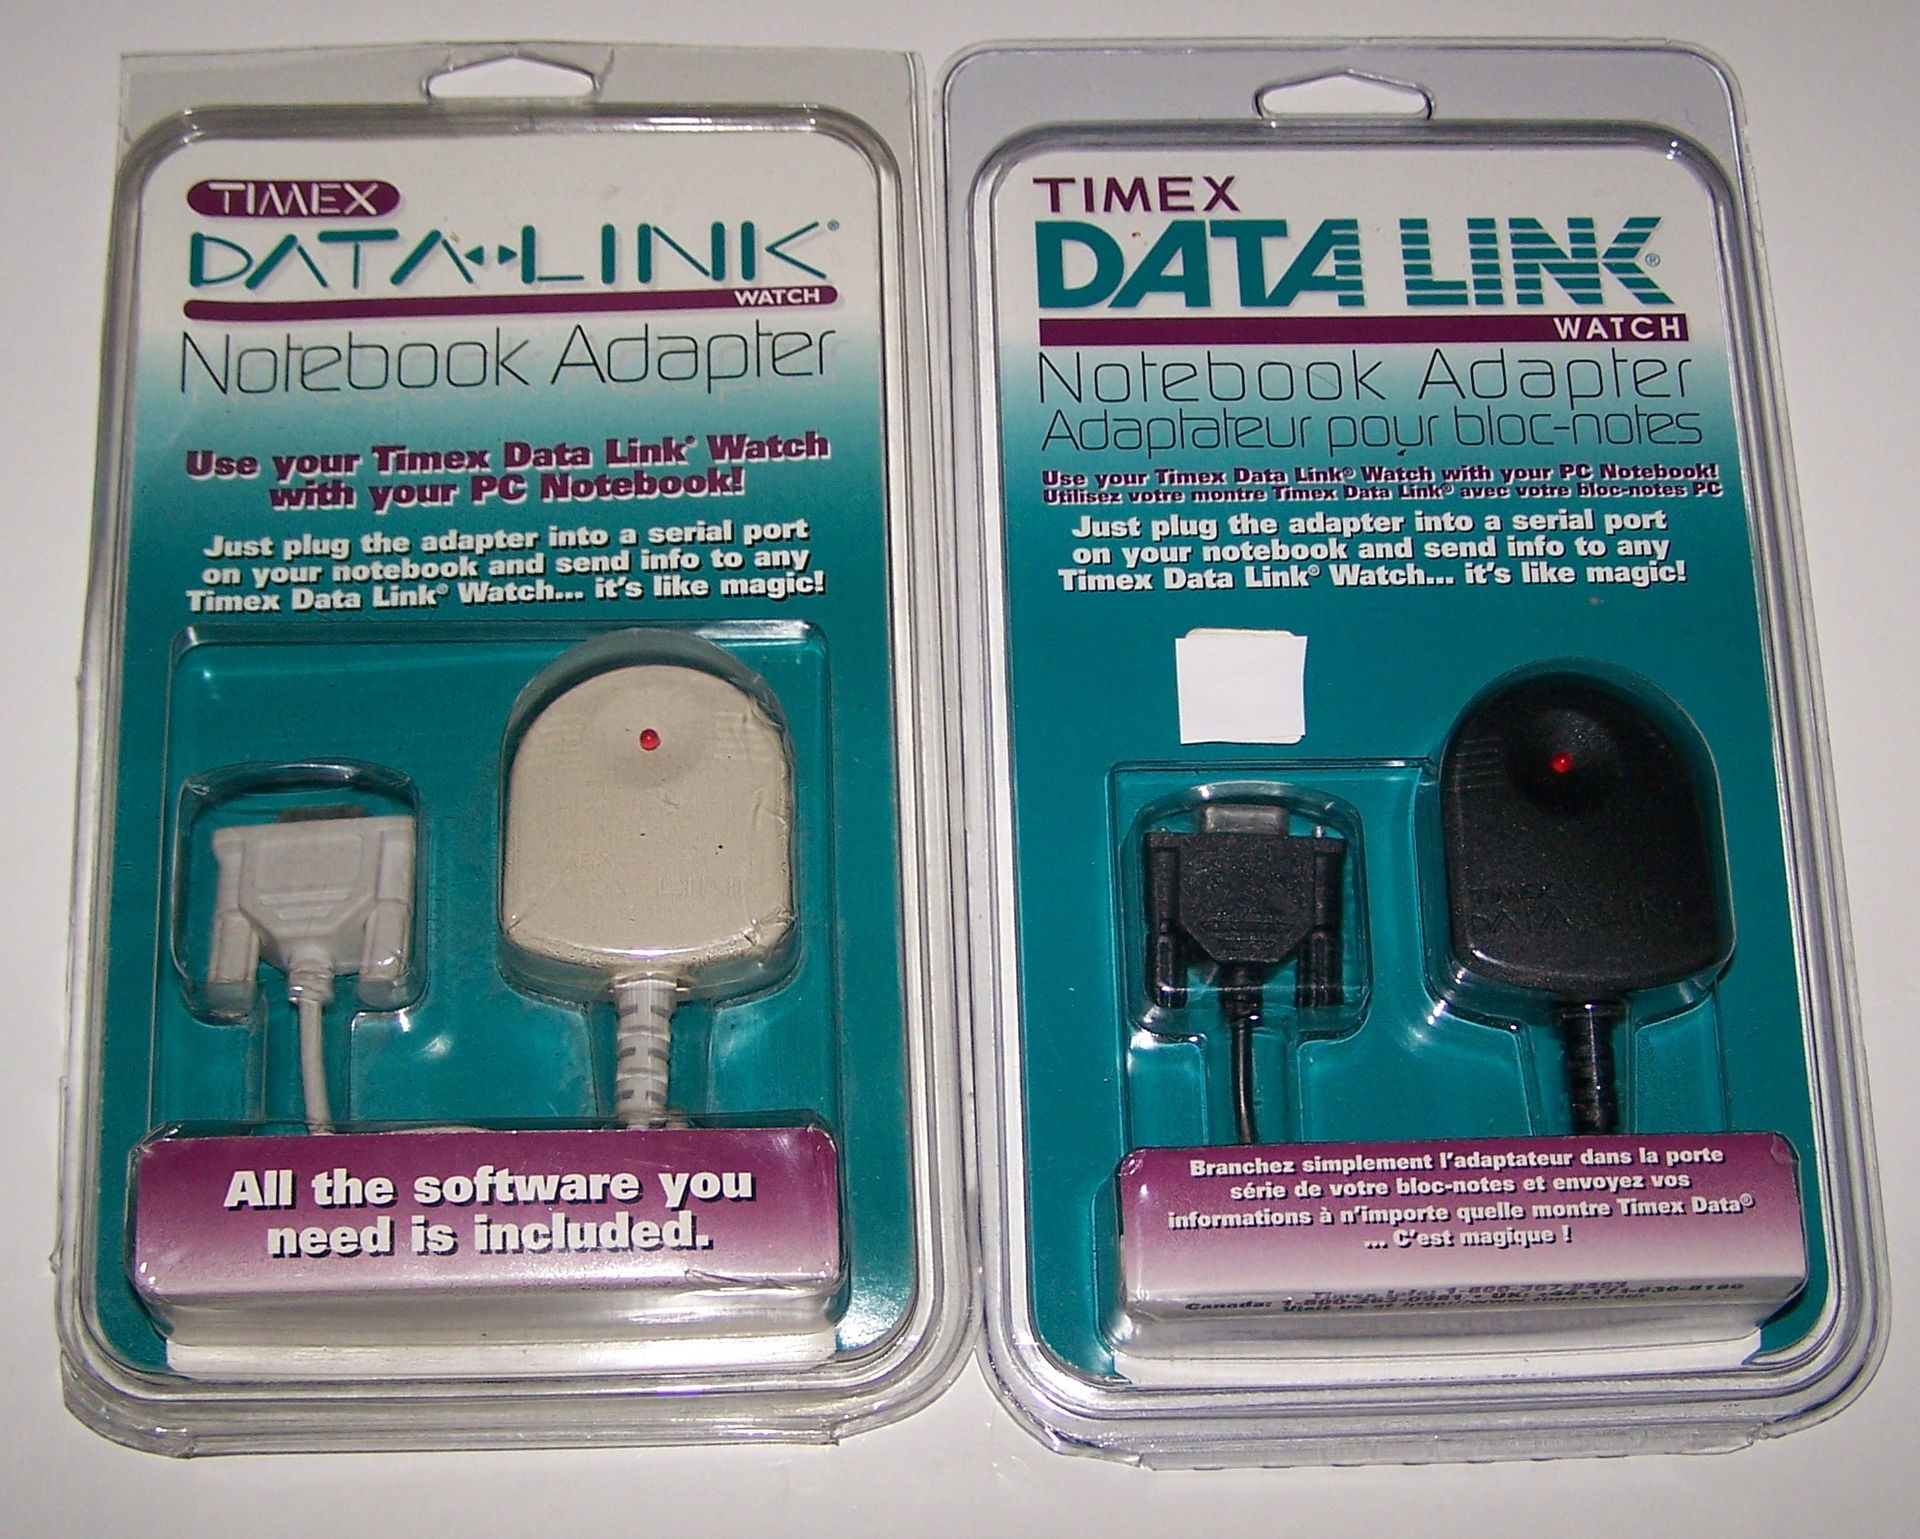
For laptop users, Timex also offered the Datalink Notebook Adapter. Instead of using a CRT monitor, the Notebook Adapter simply flashed a single LED light. This adapter is fully supported by the Timex Datalink software, and sends the same data as a CRT.

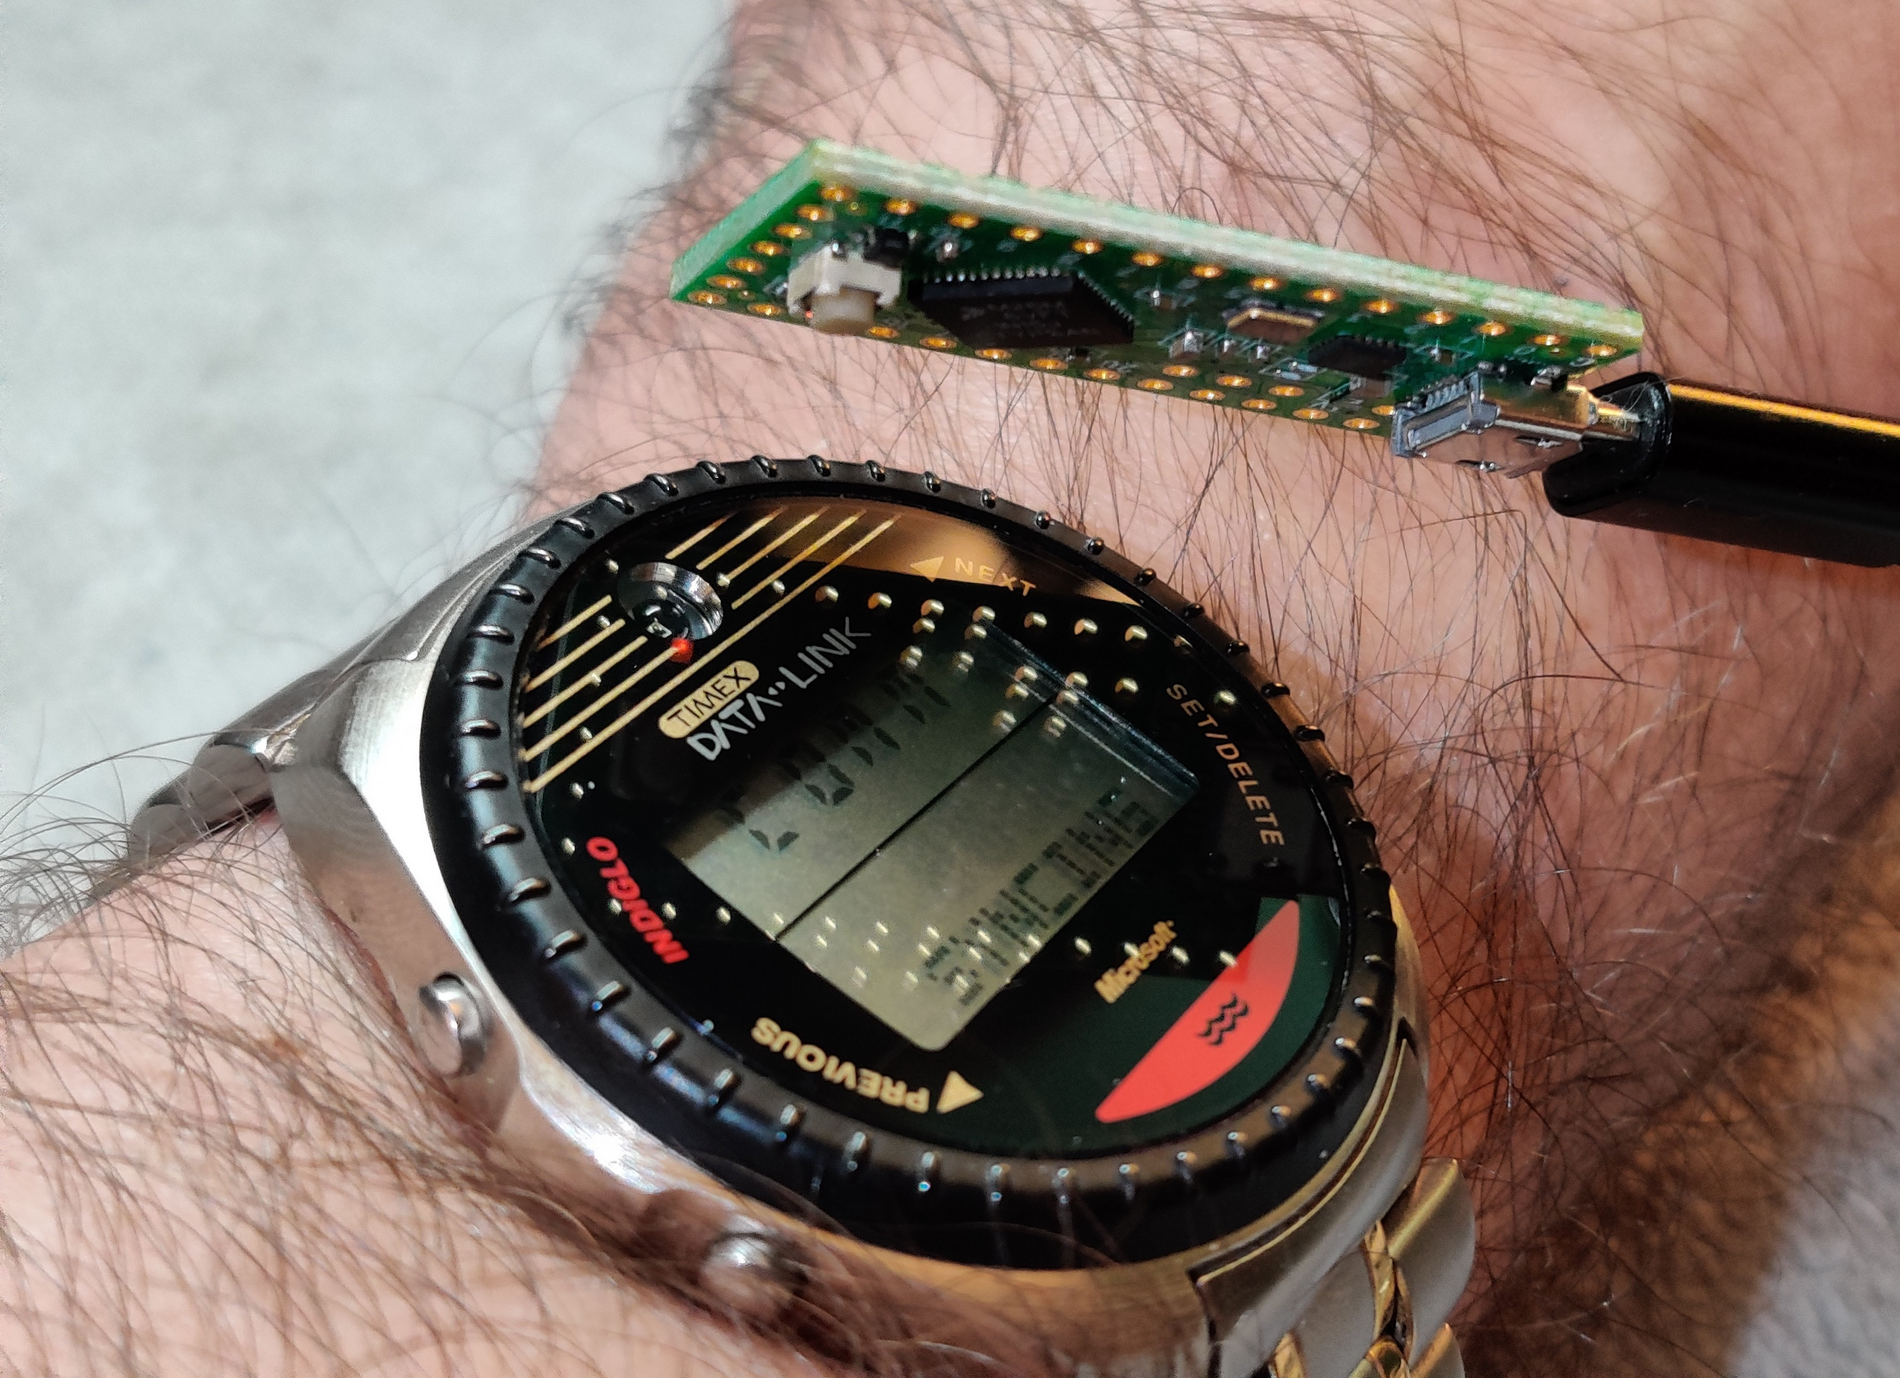
However, Notebook Adapters are rare and expensive now, so I reverse-engineered one! Here's my timex_datalink_client Ruby library communicating with my DIY Datalink Notebook Adapter to emit data to a Timex Datalink watch!

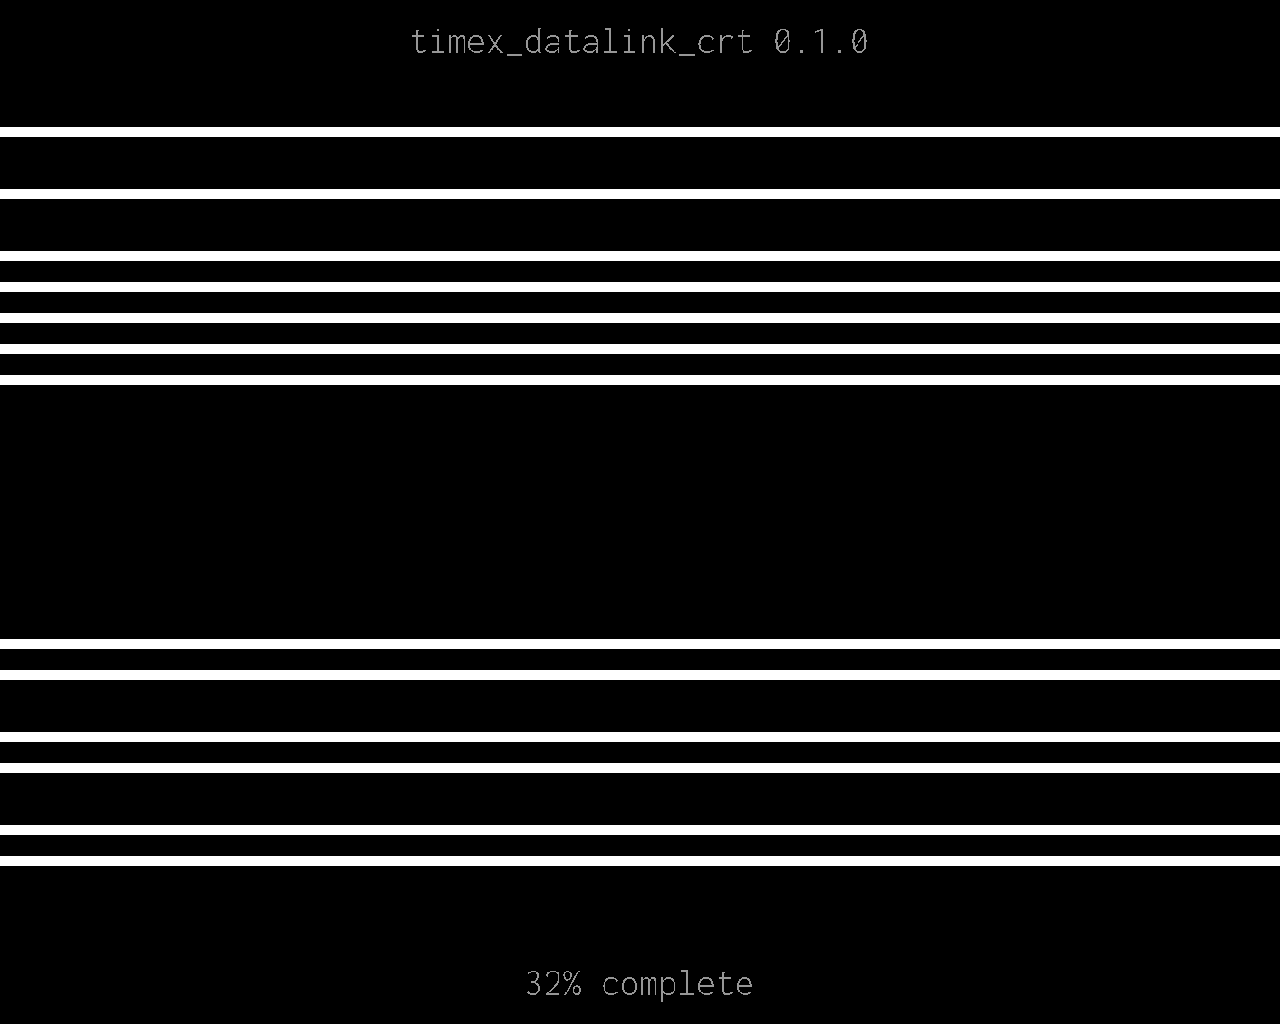
And if you want to try the reverse-engineered CRT graphics, I got you covered! I reverse-engineered that, too!

As a fun tidbit, these watches are flight certified by NASA and is one of four watches qualified by NASA for space travel! Here's a shot of James H. Newman wearing a Datalink watch on the Space Shuttle for STS-88!

Here is my Ruby library with all options for all watches reverse-engineered into a tidy model-based syntax!

Here is a Notebook Adapter emulator that is fully compatible with all Timex software on old and new machines, and also works with my library too!

And if you have an anchor that happens to contain an electron beam and wanna try it, here's my library for drawing graphics to a CRT to transfer data!

This has all been done over months of careful effort with lots of VMs, Pentium machines, Windows 98SE, logic analyzers, and solving data puzzles little by little. On July 4th, 2023, I'm proud to announce that I have reverse-engineered every Datalink device with 100% feature compatibility! This is definitely a passion project by all means, and I thought I'd pop in and share this passion with y'all!

Enjoy!

view more: next โ€บ