this post was submitted on 03 Feb 2025
22 points (100.0% liked)

FreeCAD

925 readers
1 users here now

Your own 3D parametric modeler.

www.freecad.org

FreeCAD is an open-source parametric 3D modeler made primarily to design real-life objects of any size. Parametric modeling allows you to easily modify your design by going back into your model history and changing its parameters.

founded 2 years ago
MODERATORS
 

The .stl and .fcstd files are at the link. All the test joints I printed fit together really nicely, but I'm worried the overall design might have issues that I'm too much of an amateur to identify. It'll need a LOT of filament... Good wooden marudai cost hundreds of dollars, whereas 1500g of my preferred filament is only like $45, but I'd still hate to waste that much of it. The printing itself I'm not too concerned about, it's easy stuff. Just a little bridging and no support. Of course, that doesn't necessarily mean the finished/assembled object will be functional. Thanks in advance if you have any tips!

PS: This is also my first use of the spreadsheet function, I usually just rely on named constraints from prior sketches. It's really neat. FreeCAD rules!

top 16 comments
sorted by: hot top controversial new old
[–] Symphonic@lemmy.world 5 points 2 weeks ago* (last edited 2 weeks ago) (1 children)

I have a few ideas -

  1. Replace the posts with wooden dowels. That might make it stronger and still cheaper.
  2. This one is harder to describe. Assume that you have a post of diameter 5mm and length 100mm, and your base is 20mm high. At the post's base make it dia 10mm and height 10mm. Now make a similar negative feature in your base ⌀5x10, ⌀10x10. To assemble, insert the post from the bottom of the base. This way you'll get a lot more support.
  3. You can make the idea above more 3d printable by using generous chamfers.
  4. Your current profile is hexagonal, you can still make the collar. Make one of the edges coincident instead of the axis. You'll still be able to print flat. Or if you want a concentric hexagon then cut off the excess collar at the plane of the shorter hexagon.
  5. You can employ a similar technique for the top but you'll have to get more creative there.

(Edit - I'm sorry, I can't figure out formatting on my app)
[–] MxRemy@piefed.social 1 points 2 weeks ago (1 children)

Whoaaa, that's a GREAT idea!! I get what you mean, that makes sense. Thanks!

[–] Symphonic@lemmy.world 2 points 2 weeks ago

If you try these out please lmk. I'm very curious to know how it goes.

[–] nickwitha_k@lemmy.sdf.org 4 points 2 weeks ago

A couple of general tips for multipart models:

  • If 3D printed parts need to fit together, try to align the critical mating surfaces on the same axis when printing. This will minimize artifacts caused by differences in expansion, contraction, and imprecision.

  • If 3D printed parts need to mate together as perfectly as possible, it can be a good idea to print one or both parts without tolerances and match them together with post-processing (sanding).

  • If mating together 3D printed and non-3D printed parts, often around 0.5mm is recommended for tolerances but, you'll get the best for by doing test prints and evaluating them (different printers and filaments can have a profound effect).

[–] rbn@sopuli.xyz 3 points 2 weeks ago* (last edited 2 weeks ago) (1 children)

I feel the two vertical posts might be a bit flimsy. If you are mostly about the function and less about aestetics and want to reduce print time and Filament, you could also just print the top part and use a broom stick + a wooden piece as a basis.

[–] MxRemy@piefed.social 1 points 2 weeks ago

There's actually 4, i just only have 2 shown. But you're probably right about just printing the top and using wood for the rest, I hadn't thought of that.

[–] nis@feddit.dk 3 points 2 weeks ago (1 children)

I build one myself out of wood and magnets. I don't have any comments on your model, but just be prepared for a lot of sanding of the top plate, otherwise the threads will catch.

[–] MxRemy@piefed.social 1 points 2 weeks ago (1 children)

By magnets, you mean that there are parts on yours that are held together that way? That's actually very reassuring, I wasn't sure how strong the connections had to be or how much force these things are generally under.

[–] nis@feddit.dk 2 points 2 weeks ago (1 children)

Only magnets, actually. The design is similar to yours; a top plate, four legs and a base.

I drilled four holes in the base and the top, holes in either end of the legs, glued neodymium magnets in all the holes (be sure to get the polarity right :) ). The whole setup is loose and can wobble a bit, but not enough to actually impede usage.

[–] MxRemy@piefed.social 1 points 2 weeks ago

Wow that's amazing! Maybe I should incorporate some holes for magnets into this, just in case the existing fit isn't enough.

[–] wjrii@lemmy.world 1 points 2 weeks ago* (last edited 2 weeks ago) (1 children)

So, I admit it's laughably easy as a person who already owns one to suggest this, but would you consider a laser cutter for this project? Combined with the dowels already mentioned (and I agree they'll be much better than printed Ashi), some thin plywood (to cut 2-3 layers each for the base and the kagami), some glue, and weights to act as clamps could make fairly quick work of this. Add a cheap miterbox with hand-saw, and some sandpaper to ease the edges of the top and I think you might avoid huge 3D prints, while still using the 2D plan of the design you drafted in FreeCAD. Looking at the wiki for a marudai, the weights seem like a really good candidate for a 3D printed design, especially since you could leave an opening for BBs or other weights and then easily seal them up.

Also, now I need to find somebody local who wants one of these, because they look fairly simple to make with a table saw, drill press, and woodworking router.

[–] MxRemy@piefed.social 2 points 2 weeks ago

It's a shame, the makerspace I have access to used to have a laser cutter until recently. After it burst into flame and the flame sensor never activated, they decided against having one anymore. I should probably throw in a design for 3d printed bobbins/weights though, that's a good idea.

[–] Grass@sh.itjust.works 1 points 2 weeks ago (1 children)

I had no idea what it was before skimming the linked article, but after seeing the images of one in use I would anticipate string snagging on the top a lot, and the verticals being under a lot of stress. I would use wood or metal dowels/rods for the verticals, but the top piece is probably going to be a pain if you don't have a way to make a nice round.

For wood top without big machine tools I would be tempted to use two sizes of hole saw or a drill hole saw and a drill bit (not sure about the actual size, bigger would be double hole saw and smaller hole saw and drill bit). To center a hole saw, stack another piece of wood under and clamp them together outside of the circle, drill a center hole all the way through, then use the hole saw smallest to biggest only through the top piece. If the smaller hole is a drill bit size then drill the center pilot hole smaller, hole saw the outer circle, then the center hole bit size through the pilot hole. Then sanding... I would put a long bolt through big washer, the work piece, big washer, then nut, mount it on a drill and use sandpaper on a block and let the drill do the hard part. The center part I would reverse it and somehow mount sandpaper to the drill probably use larger die grinder sanding bits. If you have a die grinder or dremel use that but I've used a drill as a die grinder many times.

Printed top maybe either abs/vapour smooth which will be fumesy and toxic, or whatever plastic and sanding.

[–] MxRemy@piefed.social 1 points 2 weeks ago (1 children)

The consensus seems to be pretty solid that wood is a better overall choice for this project, but what everyone is describing seems to involve a lot more woodworking tools than I have, which is sadly zero lol. This might be one of those "when all you have is a hammer, everything looks like a nail" situations for me?

[–] Grass@sh.itjust.works 2 points 2 weeks ago (1 children)

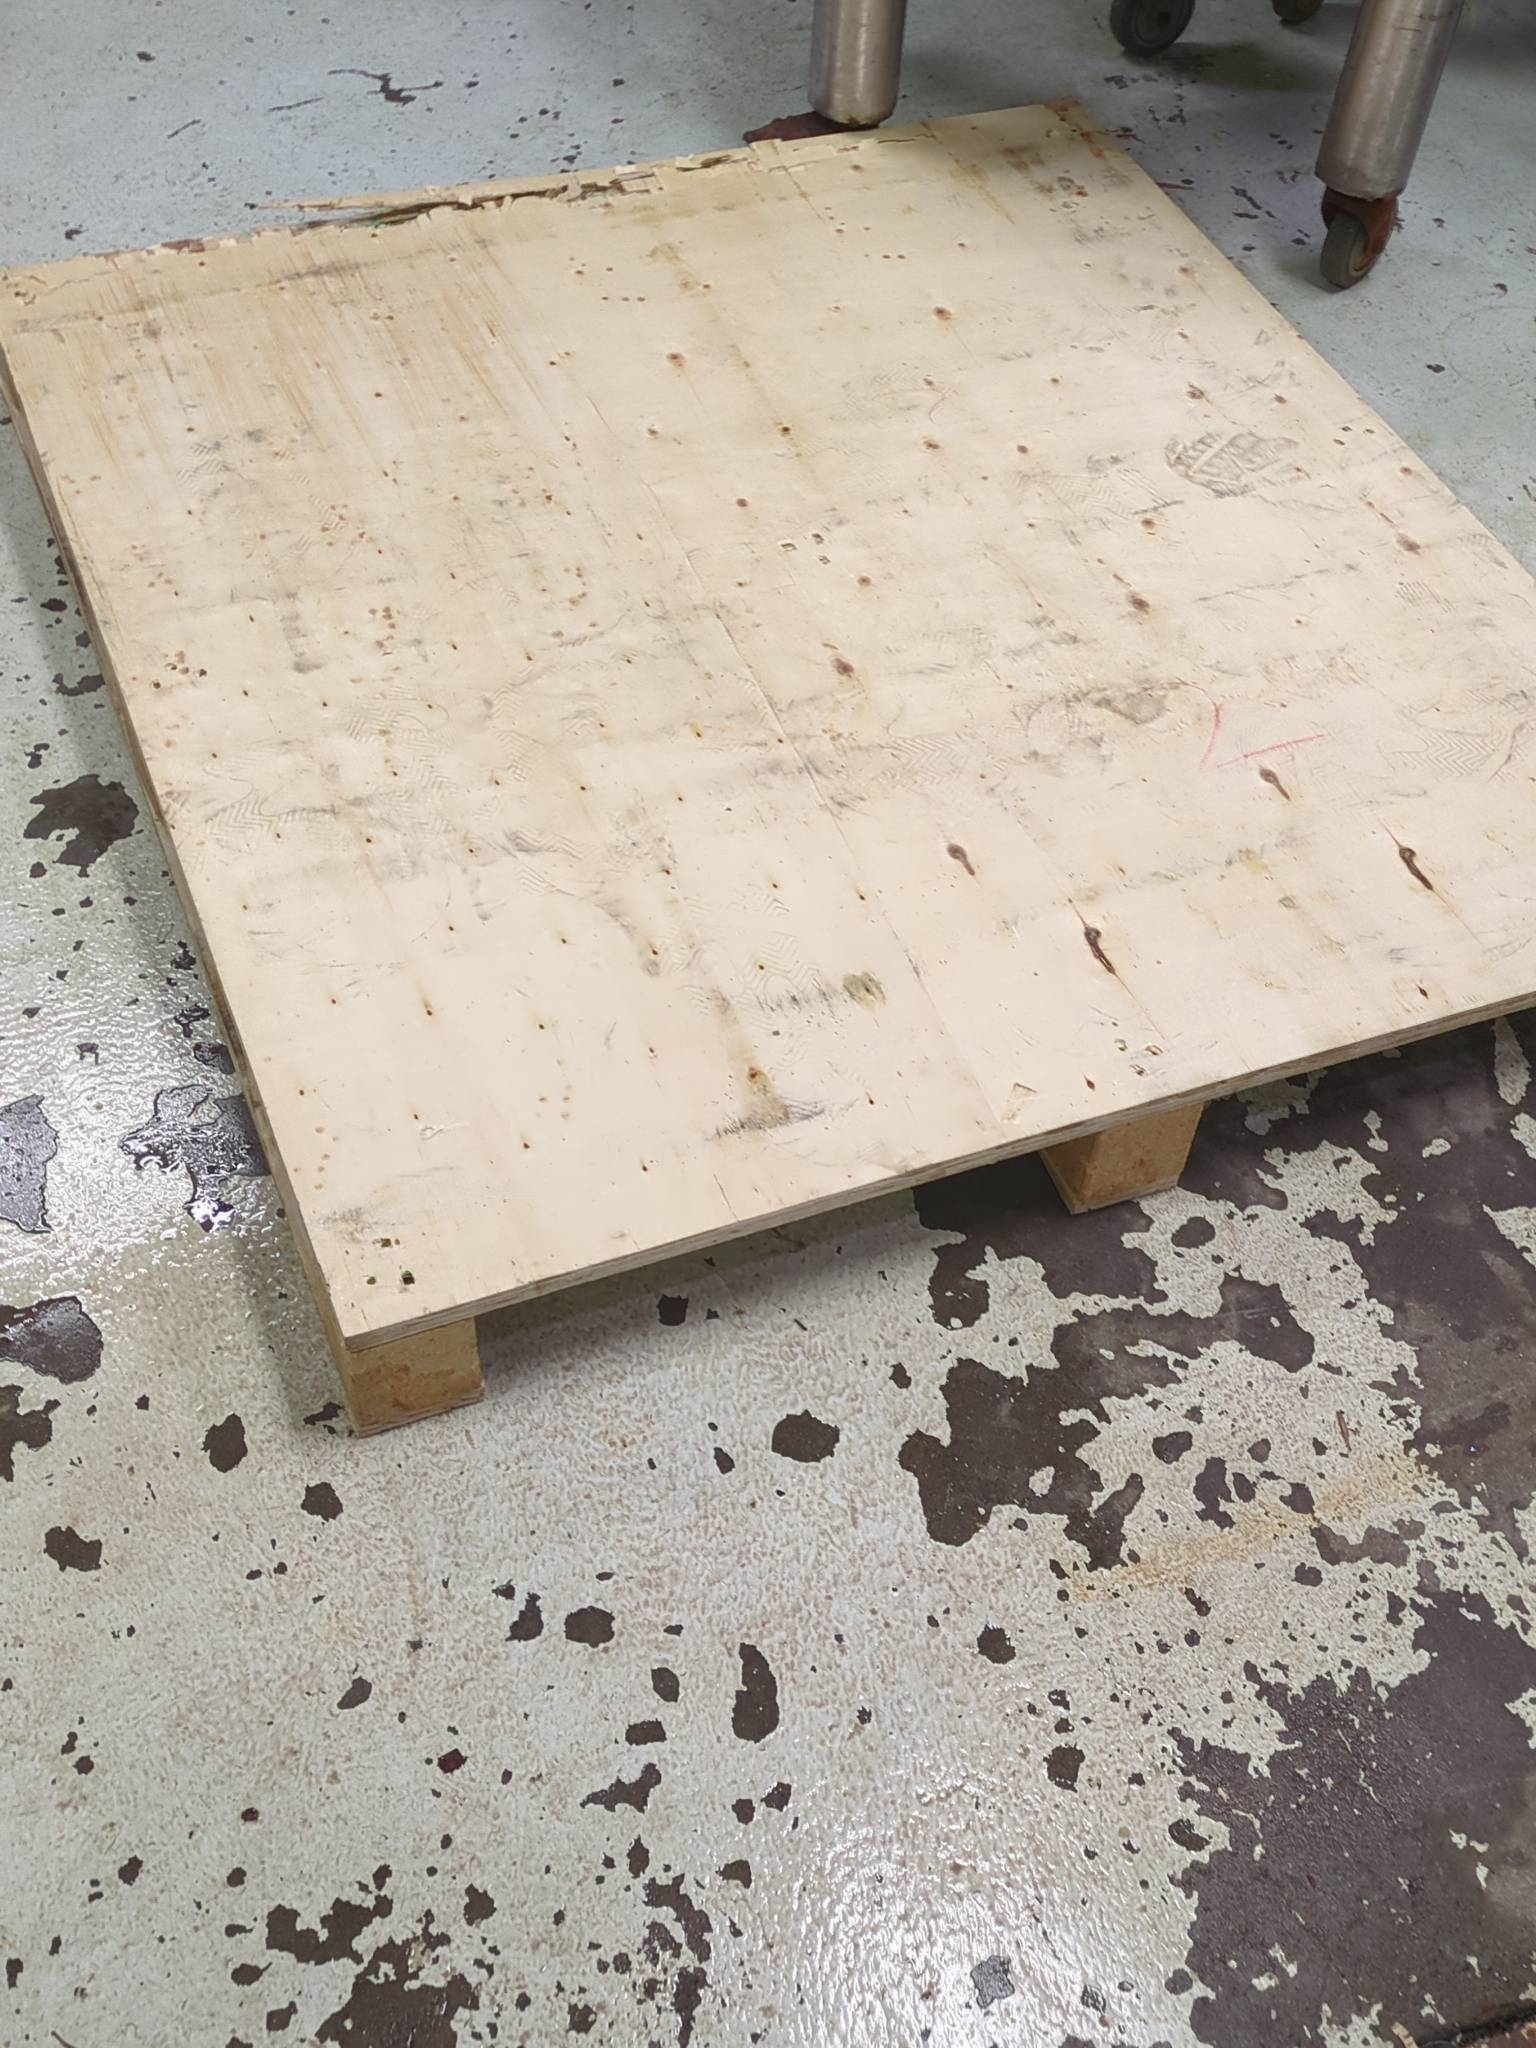
that is why I suggested drill with hole saws since its a fairly common starter power tool with the bits being generally not to bad price wise. Look in to if there is a tool library in your town. generally a cheap and easy way to use tools you don't use enough to justify buying a new one. for the hole saw method probably just a scrap plywood will be good enough if you cut the hole in a nice spot. Occasionally I'll pull these plywood topped pallets out of the alley behind my work if they aren't filthy. I've also used planks off of the other type of pallet but they tend to be in rougher shape.

1000013697

[–] MxRemy@piefed.social 1 points 2 weeks ago

That's worth checking into, I'll give it a shot. Thanks!