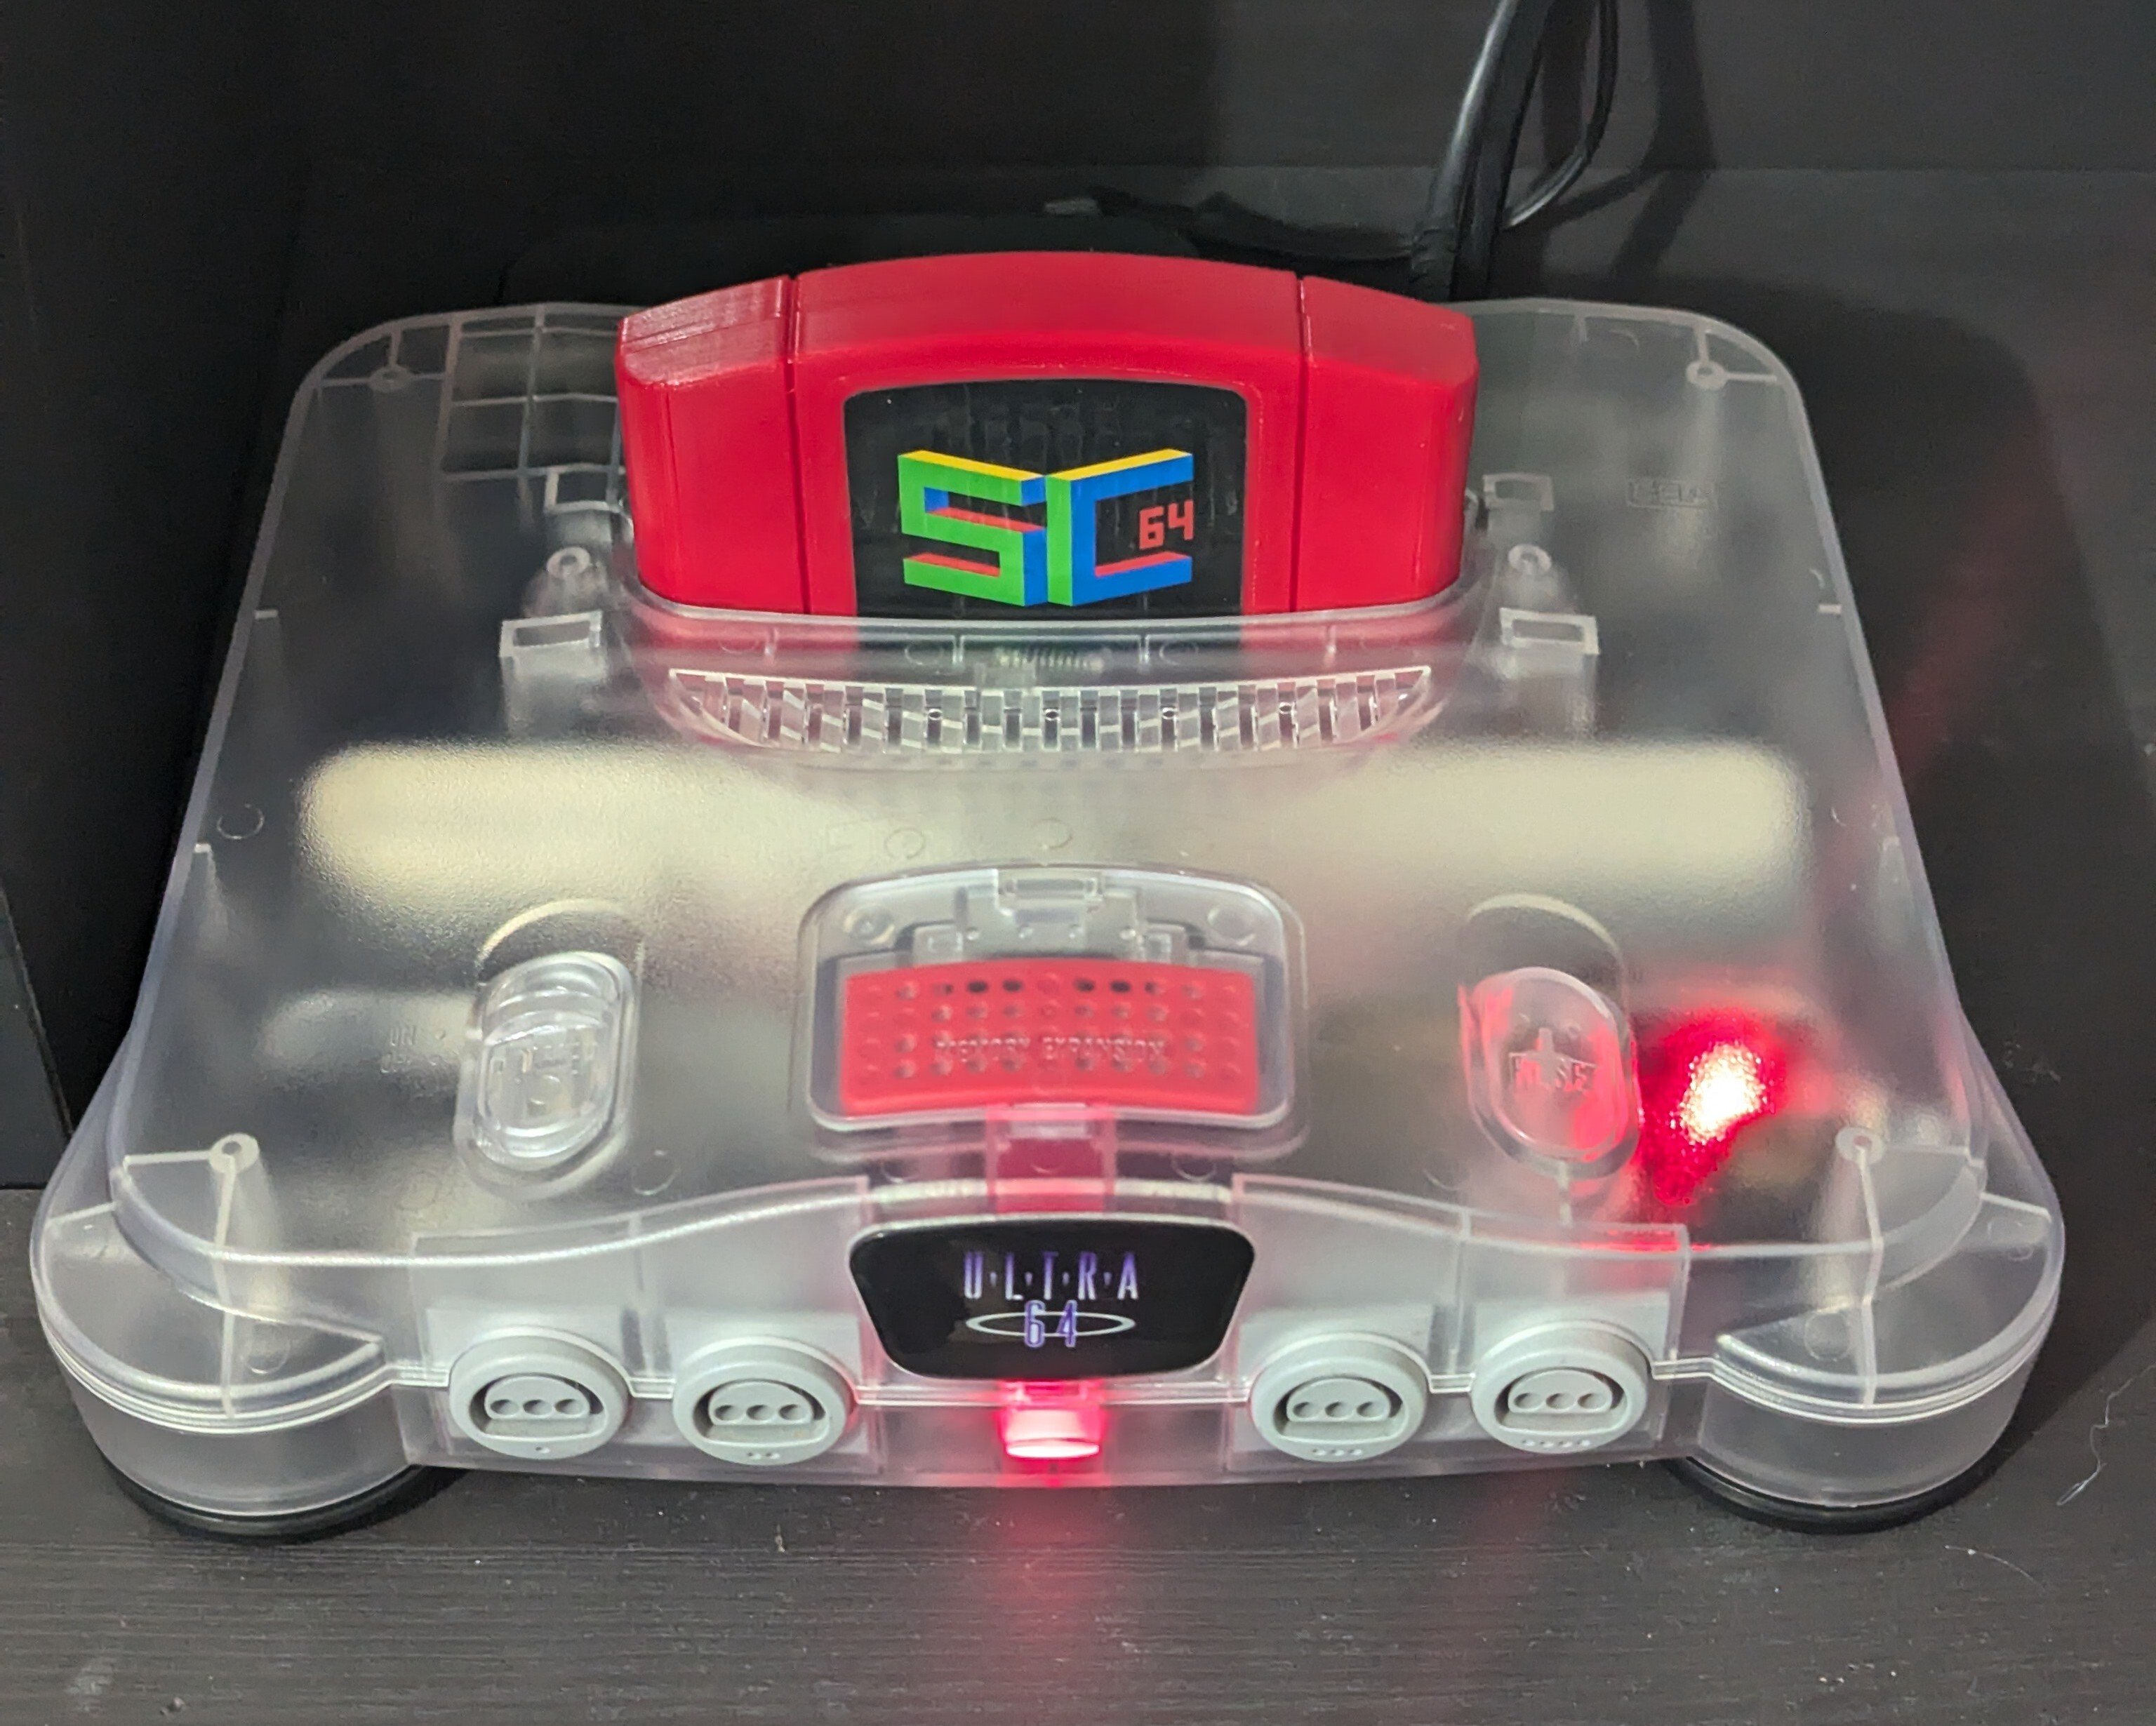
I backed the Kickstarter and have to say it's well worth the wait. The plastic feels like an OEM shell.
The post definitely has a photo.
I backed the Kickstarter and have to say it's well worth the wait. The plastic feels like an OEM shell.
What are the odds he even pays out?
If they do, are they competitive? Or are they doing the same thing. It could also be like car dealerships in certain states, you're not allowed to just open one within x miles of another (though that refers to more of the same brand). Wouldn't surprise me if they can't have dealerships near each other due to backwards legislation.
Exactly why John Deer should not be allowed to do this. Any threat to the food supply should be considered a national security risk.
The real question is what other options do farms have? Let's say their tracker breaks down and repair is no longer an option. How many other manufacturers are making the type of equipment they need? And how expensive would it be to enter that market to compete? To me it seems like John Deer has a monopoly and is exploiting it.
Depends but a nice condition N64 with the cables and expansion pak is probably about $100 without a controller. If you plan on connecting it to a modern TV, you need a decent scaler that can do Svideo/composite, so another $60 for the RAD2X. You even can complicate it more by throwing in cheaper RGB mods if you have a compatible system but that adds probably around $60 if you can't do it yourself.
Their price point is very competitive, especially considering its plug and play.
It was probably a disk copier. Here is a video that goes over how those work. https://youtu.be/MP9YR4BXrzA?si=VTgIynQI2fjaXjxE
I'm not sure if the SNAC interface could support something like a 34 pin floppy drive without major changes to the cores themselves.
Now the rotary phone idea...
Yes because it is actually reading the disk. I even move the tracks a little between reads so it makes some more noise.
It's a FPGA, open source, emulation device that can play tons of different retro consoles, computers, and arcade machines.
https://mister-devel.github.io/MkDocs_MiSTer/
There are various vendors that you can get kits from.
It's an adapter that you can build up yourself so that you can launch games on your Mister/TapTo device via a floppy disc. There are definitely dozens of us that wanted this!
Code and hardware for the project can be found here https://github.com/v1605/tapto-floppy

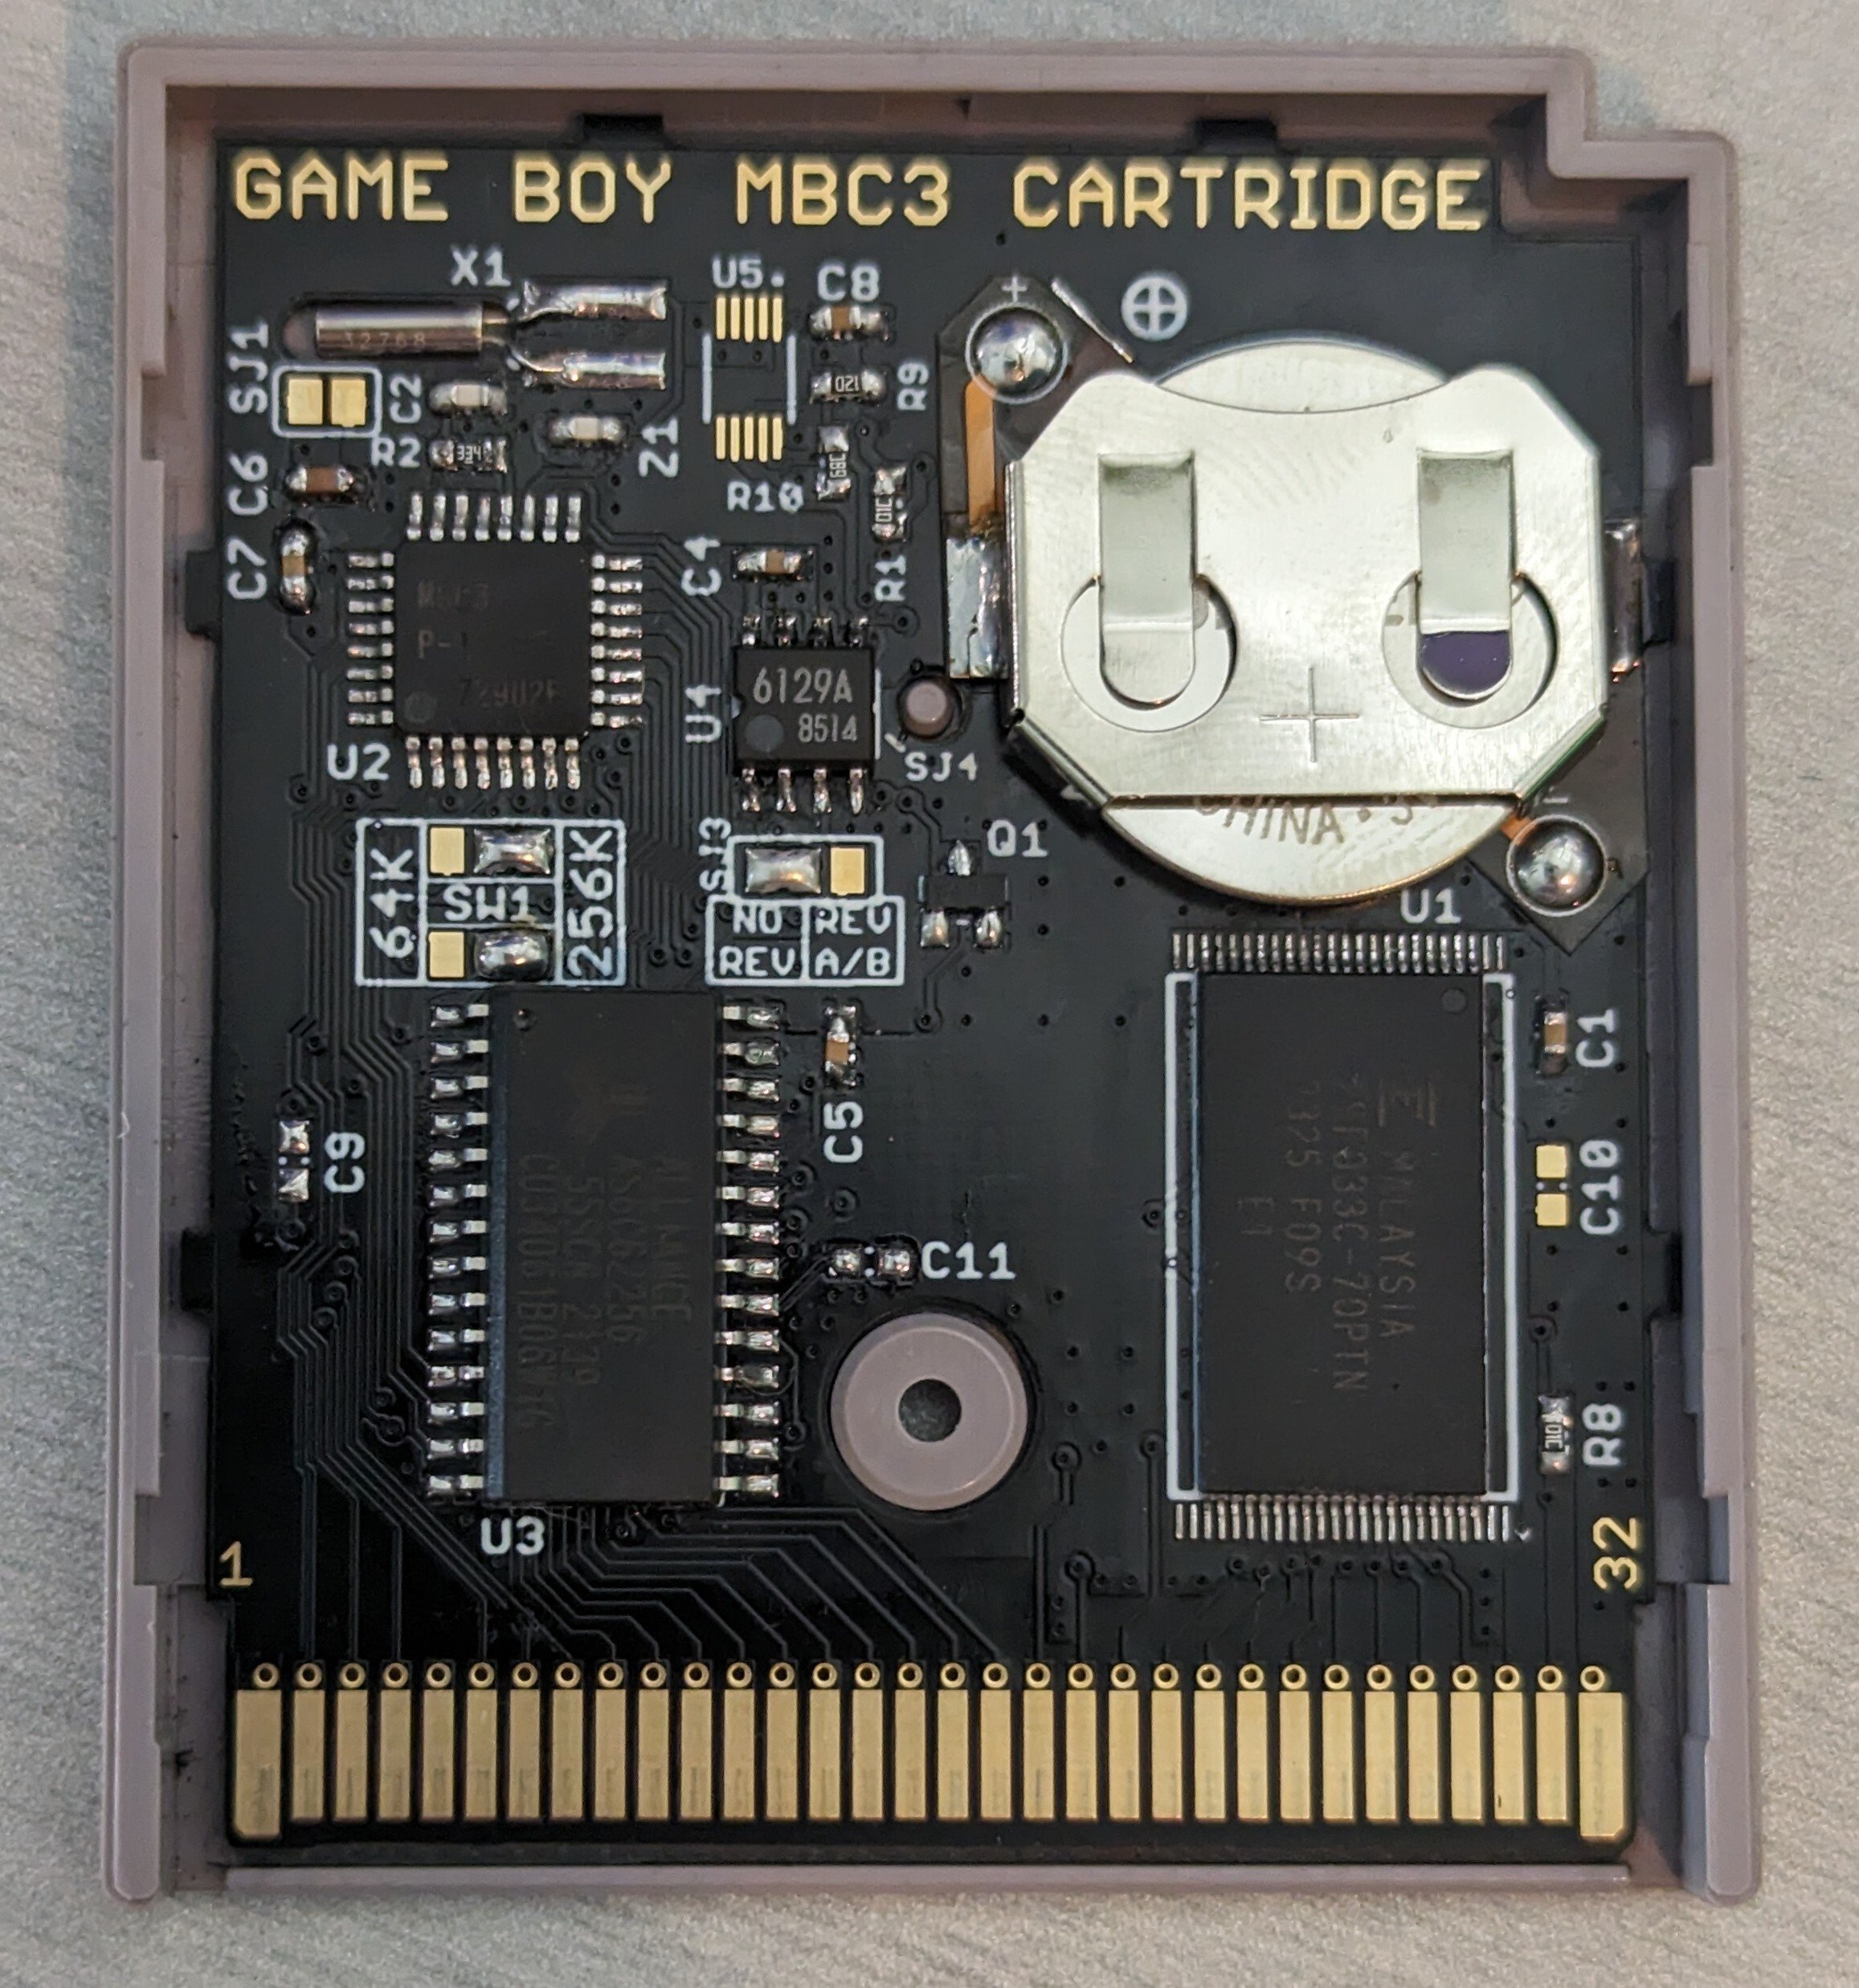 . 3 MBC1, 1 MBC3, and 1 MBC30

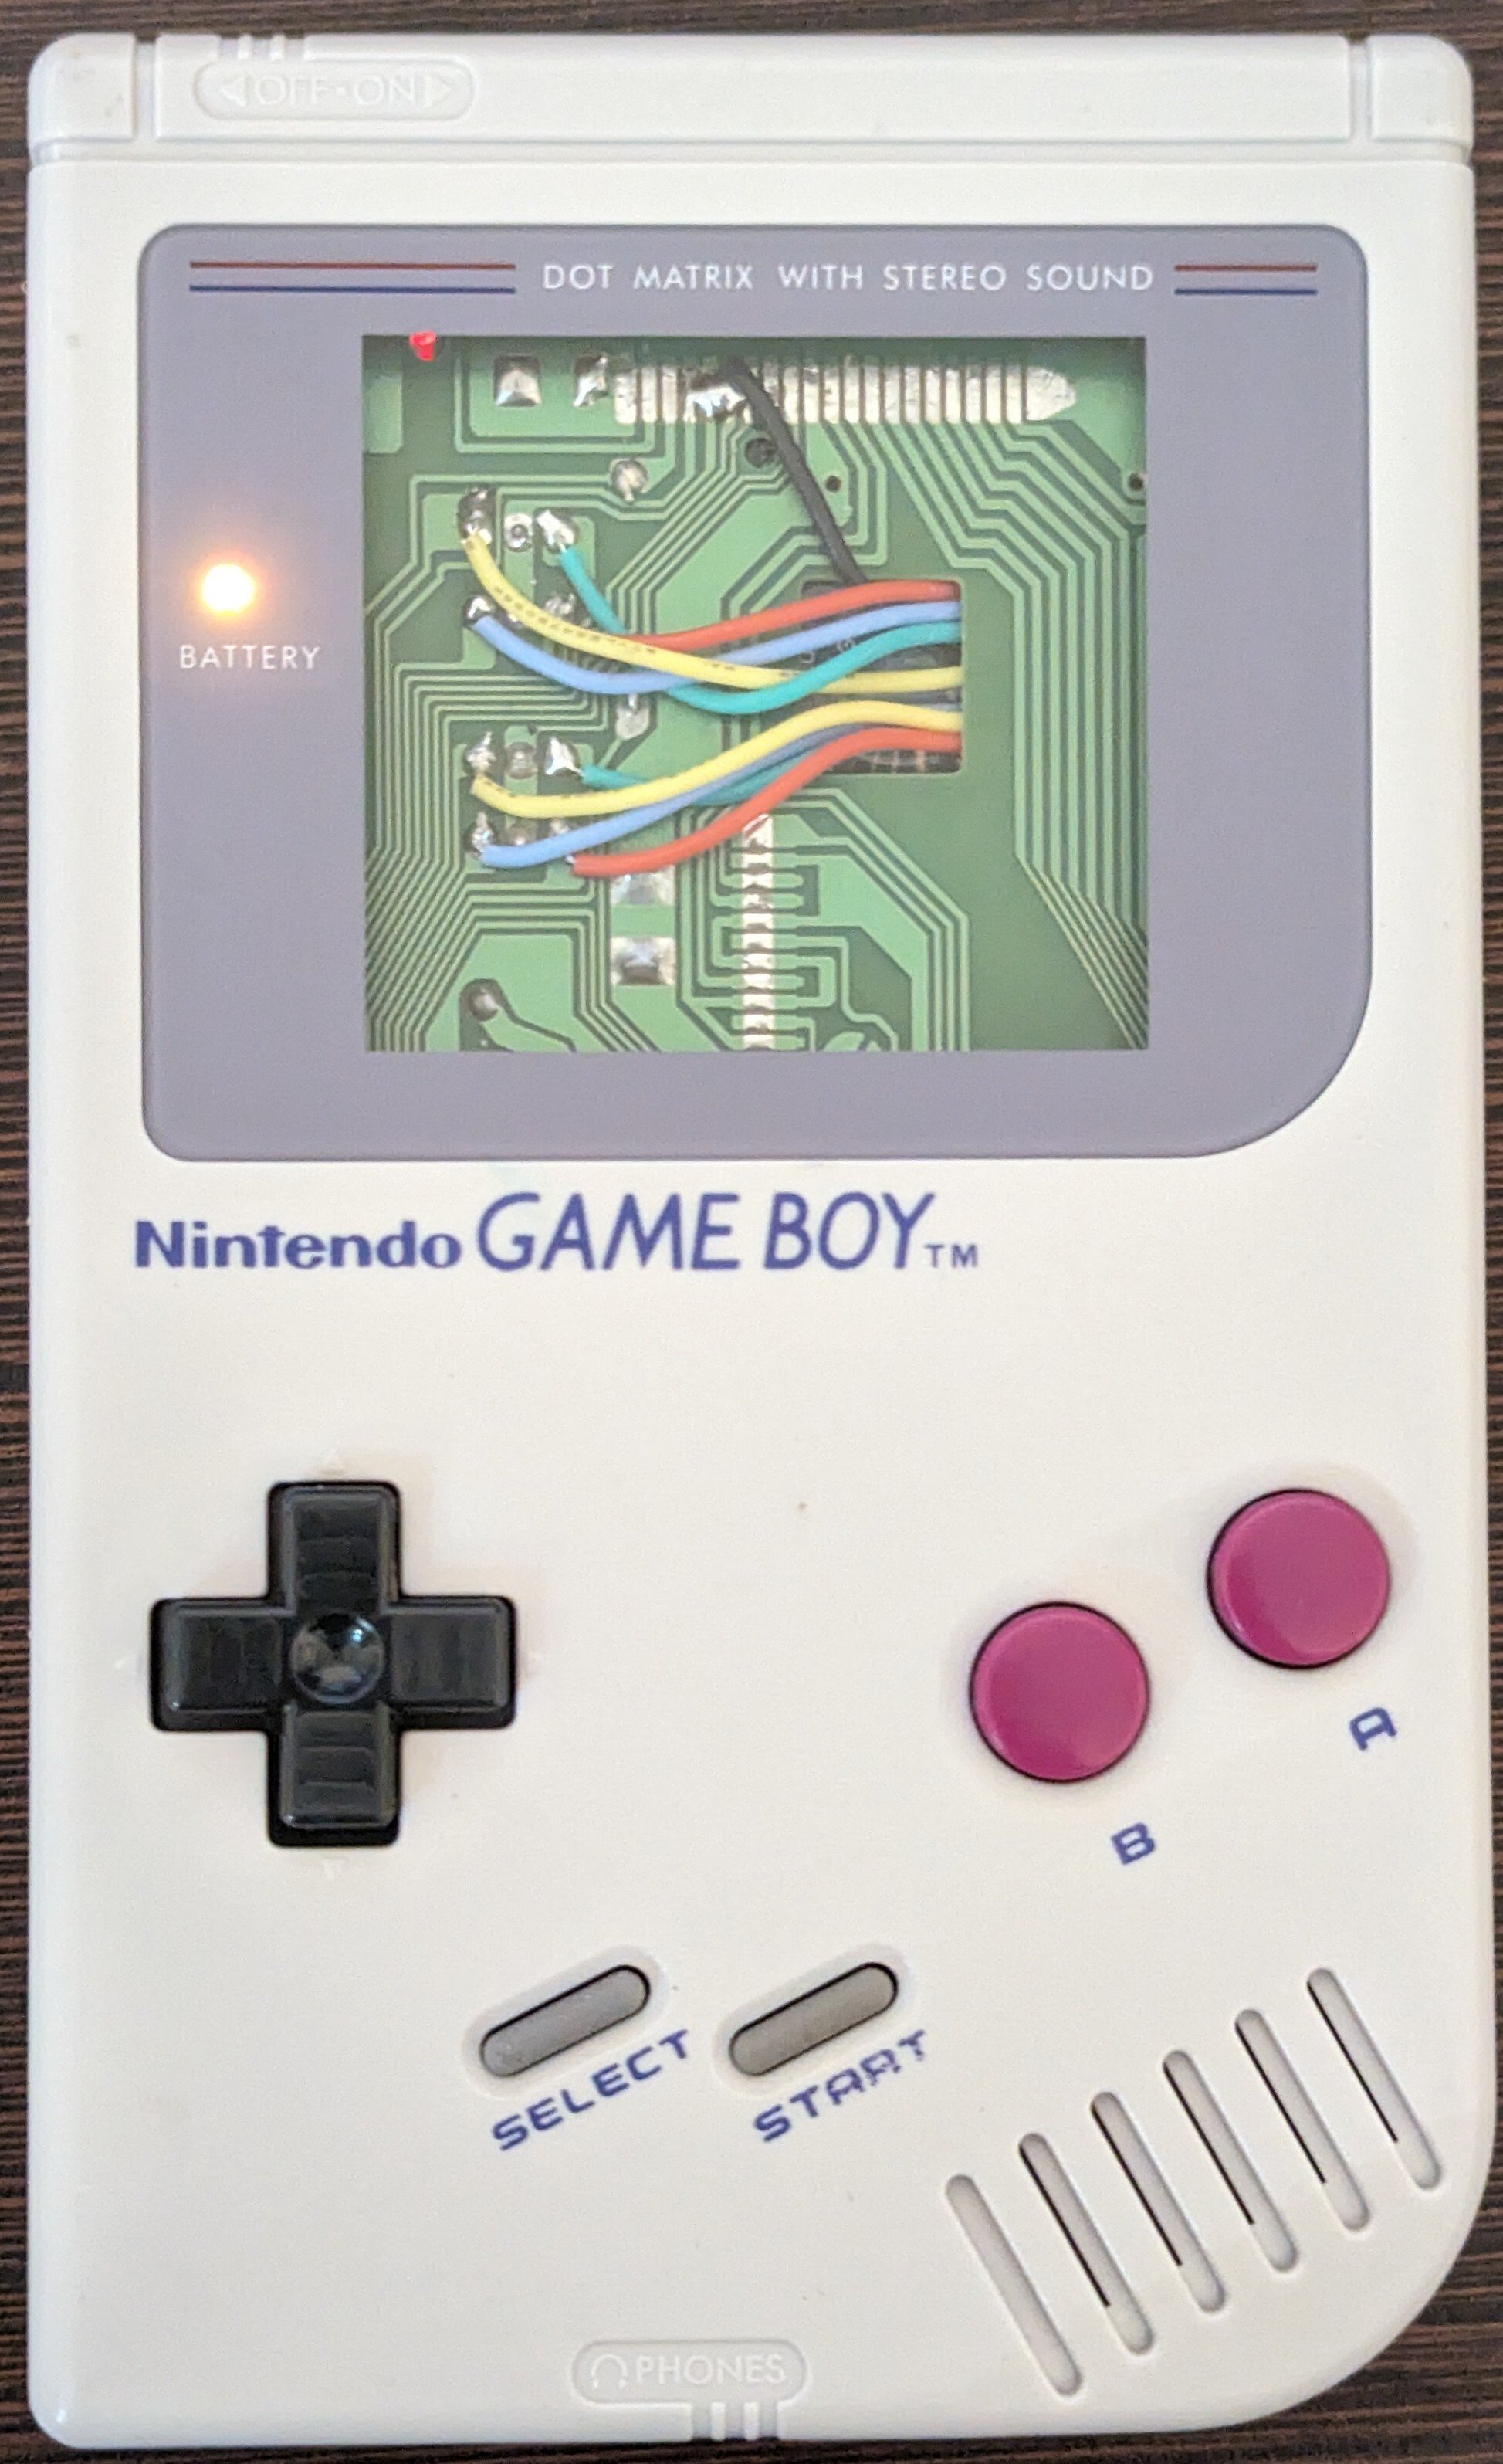
I happen to have a board from my FunnyPlaying build so I figured I'd give it a shot. Used enamel wire to make the button contacts and got 3.3v from the cart slot. I also removed the caps as to not power any circuits that didn't need (CPU and RAM were donors to the other board). Power is provided via AA batteries.
Still very much a work in progress but it works reasonably well (about 8ms of lag). I want to ultimately create an easier to install PCB rather than the perfboard I used.
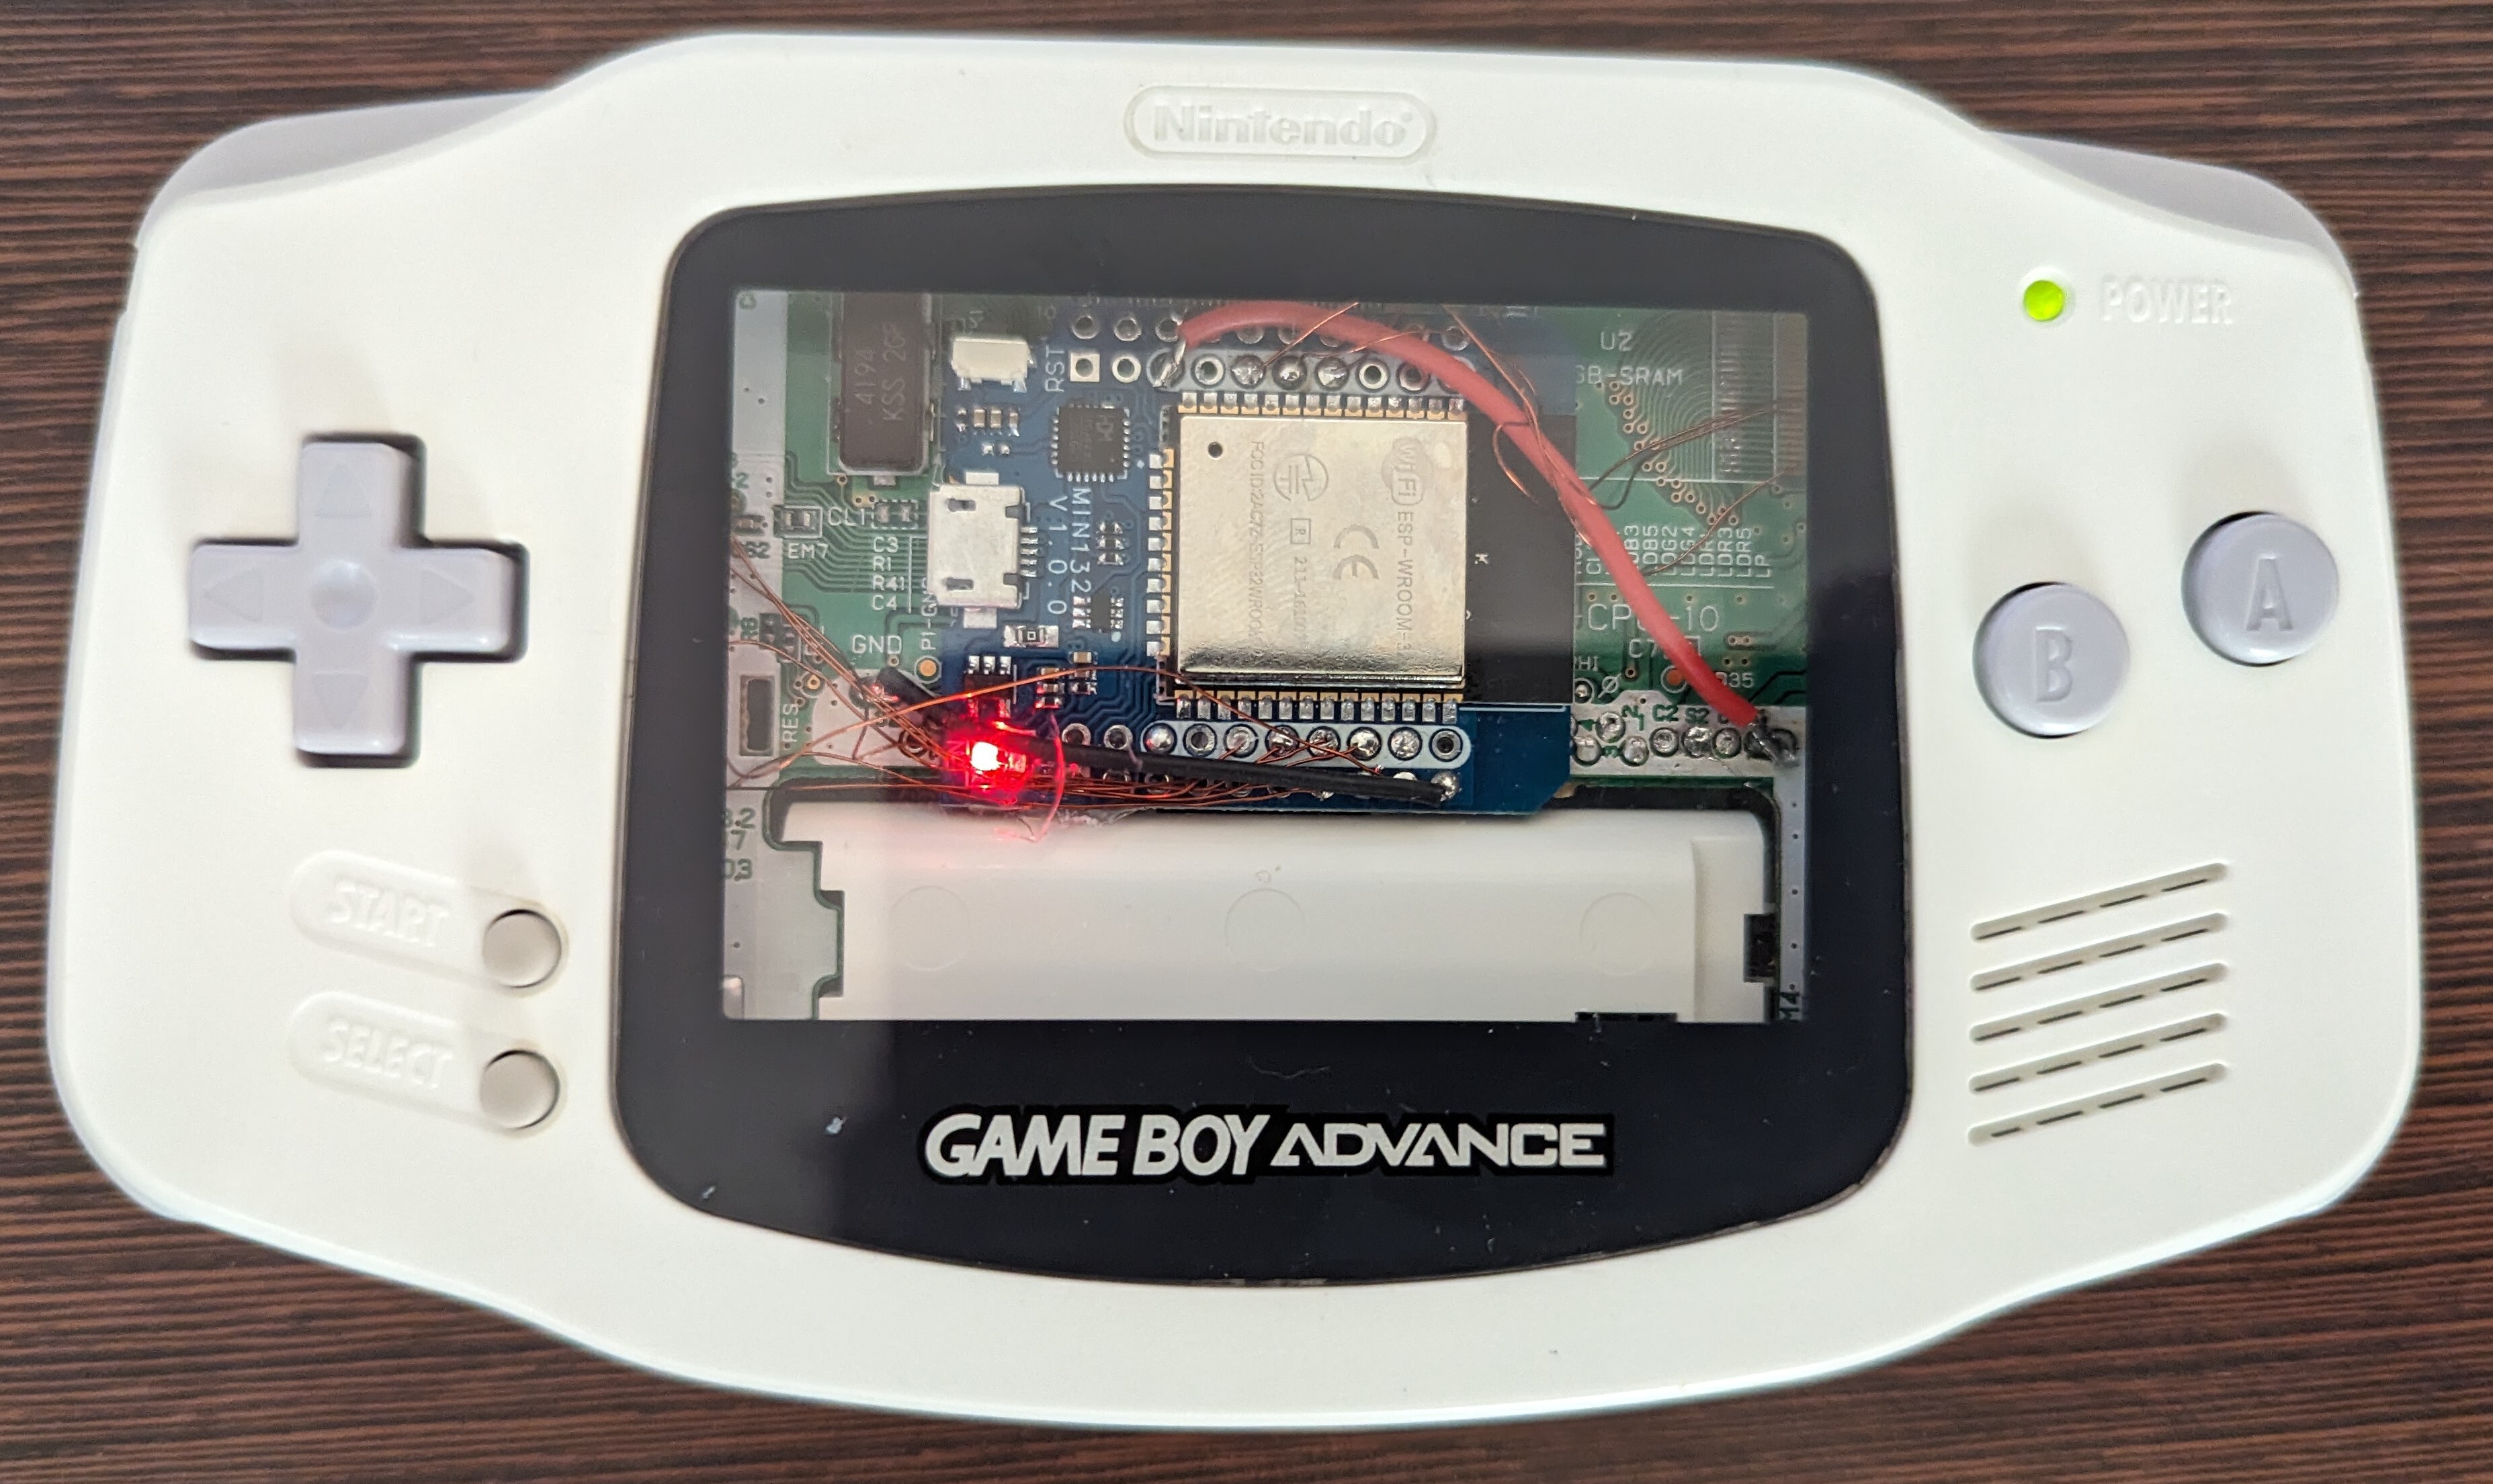
Took a badly marginal gba pcb and transplanted the CPU and RAM into this new motherboard. The soldering was a nice challenge but I had an issue with the cart slot. A pin was bent, so had to fix that before games would boot. Very happy with the result. I've uploaded a picture of the back of the shell as well. https://imgur.com/a/opXFA5B
Also in person, the plastic is not cloudy at all. The motherboard is here https://funnyplaying.com/products/gba-custom-upgraded-motherboard-replacement?variant=40990162059325

cross-posted from: https://lemmy.world/post/13199828
Printed using hatchbox wood pla. I had a few issues with standoffs but a little glue fix those right up. I'm very happy with the way it turned out. Just waiting on the release of flippy drive to call it complete.
Links to all the models I used:
https://www.thingiverse.com/tessa-wolf/designs https://www.printables.com/model/469283-gamecube-jewel https://www.printables.com/model/117561-gamecube-power-button https://www.printables.com/model/280005-gamecube-reset-button https://www.thingiverse.com/thing:2644517
This was my attempt to create a a SNES to Bluetooth adapter. It works but the average latency was 18.35ms, which I think is too much to be considered a good controller.
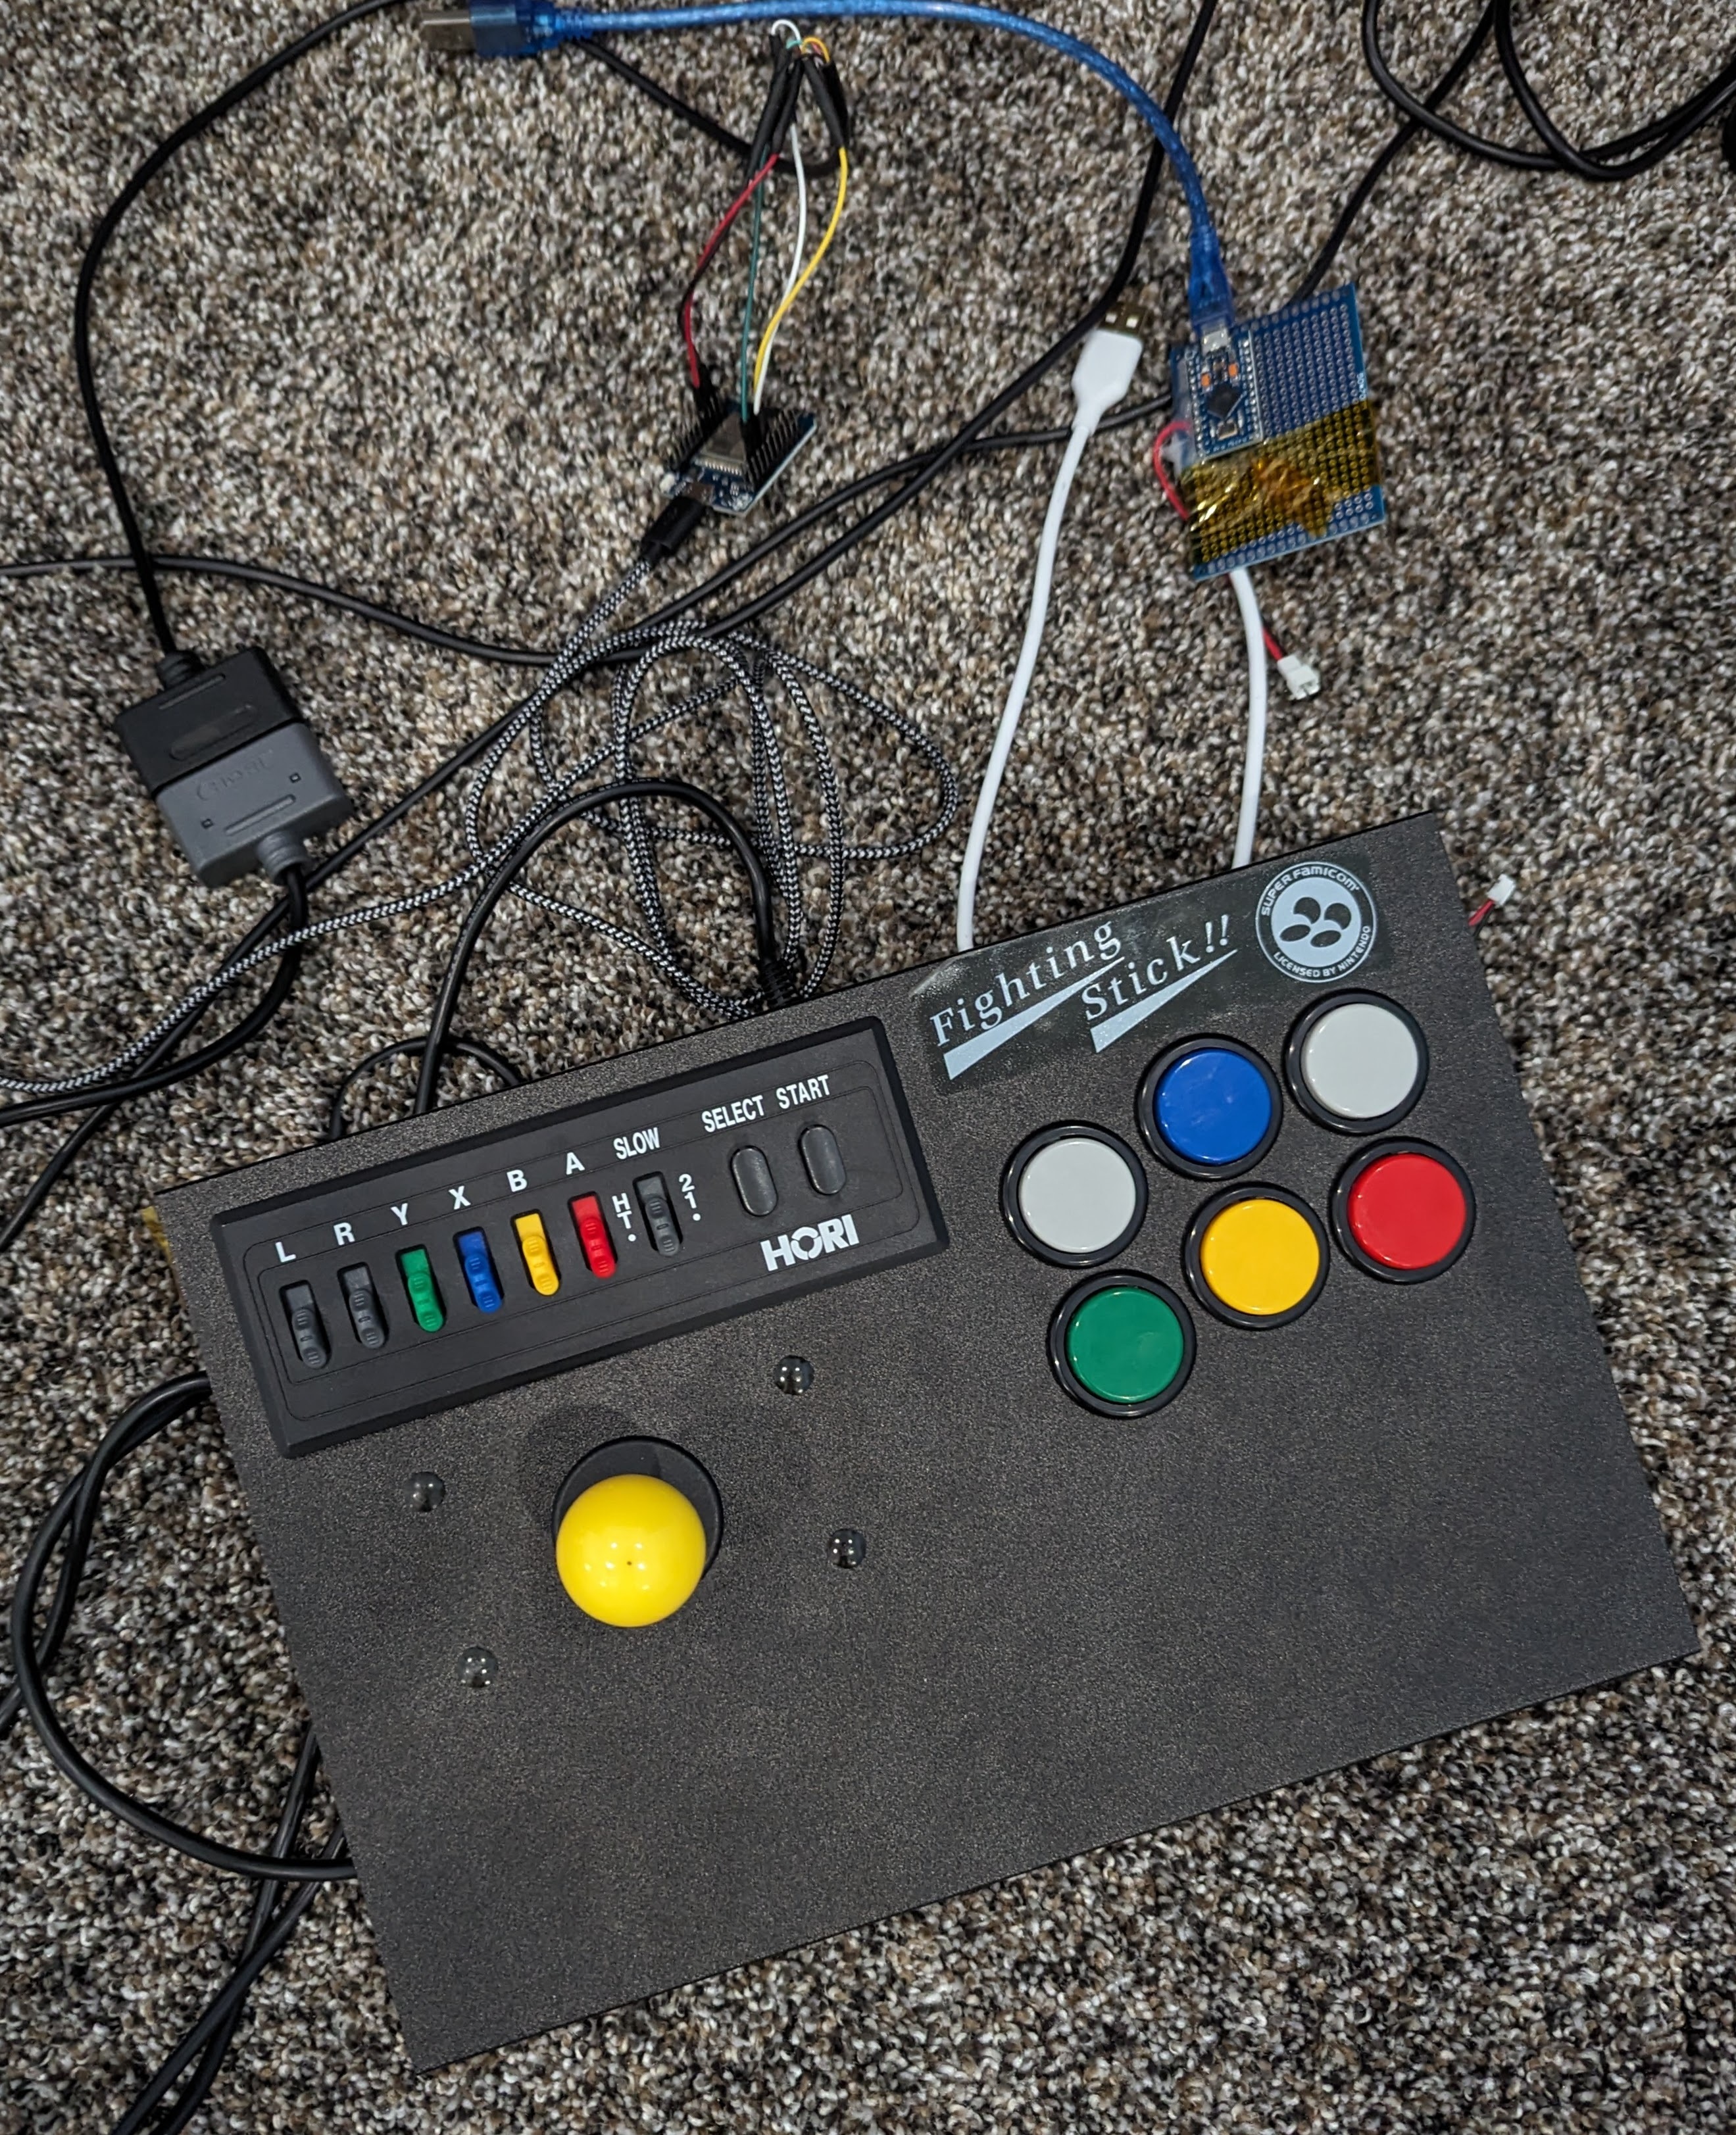
Tech support brain completely missed that one lol